Natural Play Spaces – Building a Mound Slide!
Built into the earth itself, a mound slide offers a fun, low-impact way for children to play. These natural play spaces blend seamlessly with the environment, promoting physical activity, creativity, and sustainable design.
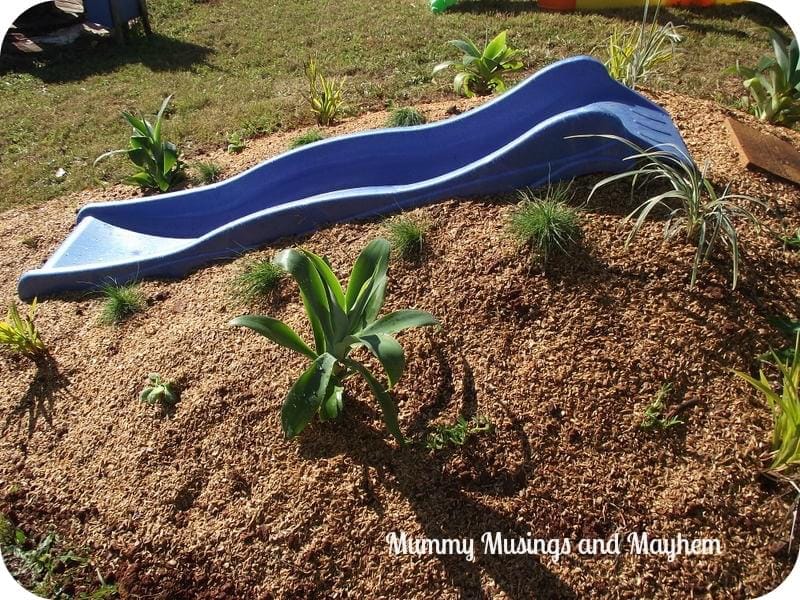
The latest addition to our backyard play space is something I have wanted to create since we first began landscaping the yard to turn it into a child friendly environment.
We are fortunate to have the space to be able to include these sort of elements and I love being able to finish products I have been seeing in my mind for what seems like ages!
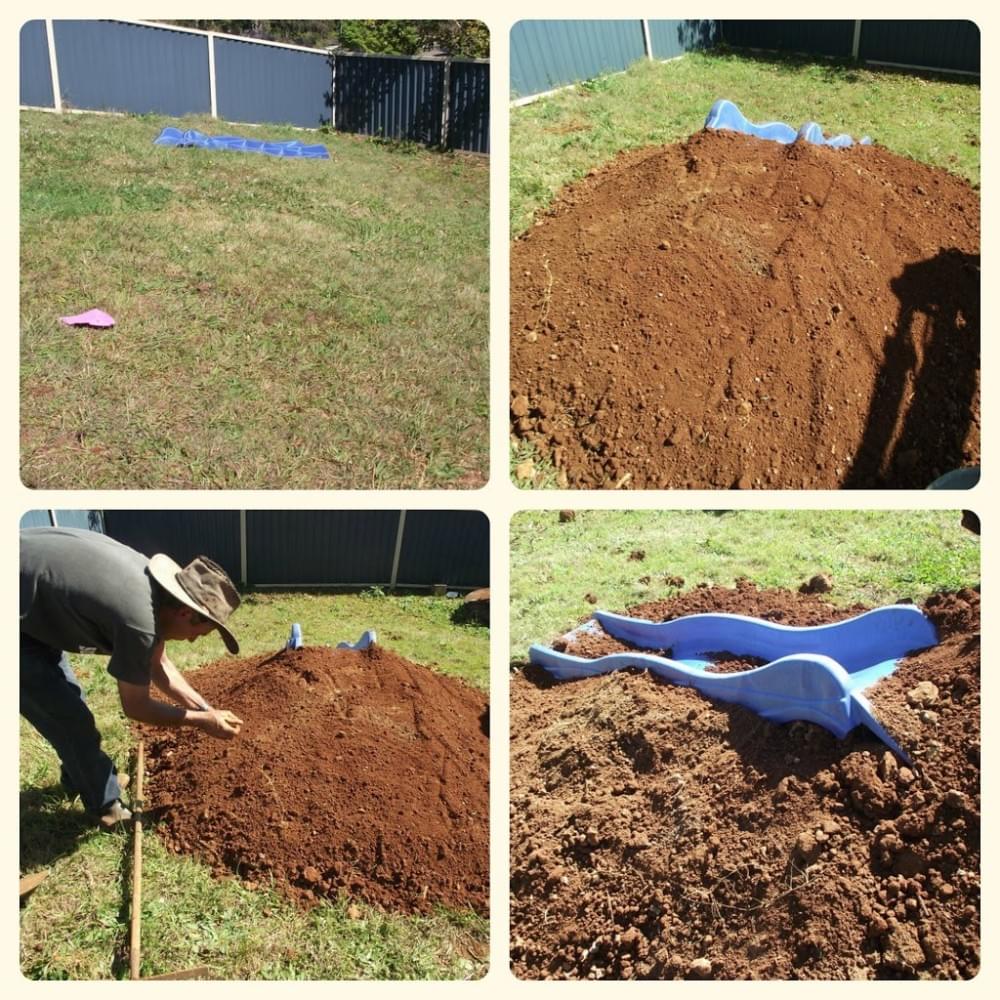
Regular readers will know we have a huge pile of dirt to move out of the yard after the retaining walls were erected. Some of this dirt we decided to put to good use as a mound for a slide area...
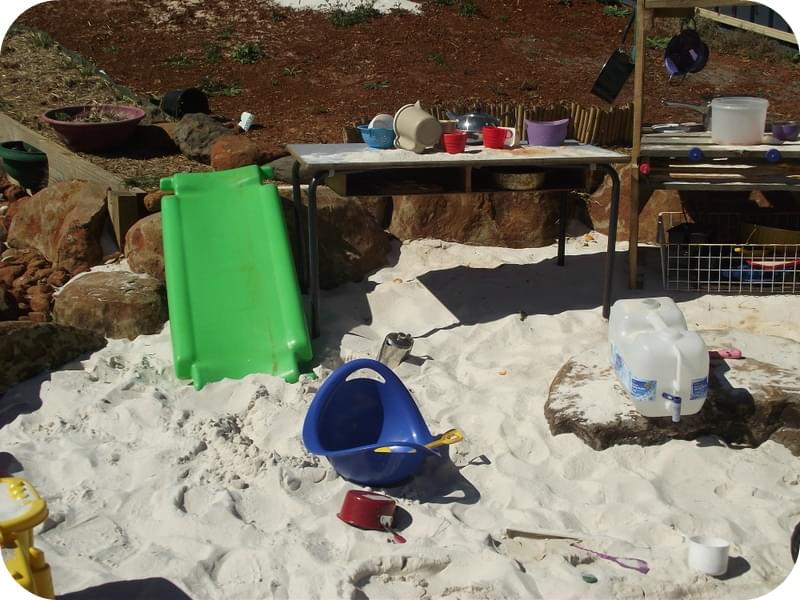
We haven’t really had a slide in the backyard apart from this little plastic one from a climbing frame... it is often propped up against the sandpit boulders to provide a little slide into the sand...
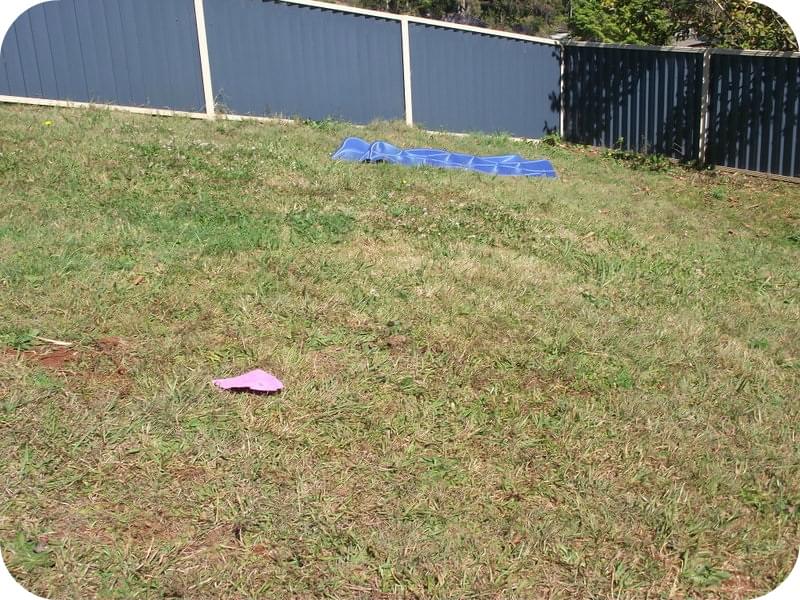
But this space has been crying out for a little makeover and I have known for quite some time what I wanted to put here!
Eventually, (when someone fills my purse with actual money that is ) we will be planting some lovely shade trees along the fence boundaries to enclose the area and provide natural shade from our harsh Summer sun... but for now the mound slide project was something we could complete to provide another little area within the yard.
We chose to place the slide here because we wanted to be able to utilise the natural slope of the yard.
His Patient Self used the excavator to transport some soil (although there were quite a few wheelbarrow loads too!)across to the slide site. Ruby decided she needed to do the same on their excavator in the sandpit (Can you believe a $2 buy from the op shop?!) while Tara chose to perch in her favourite spot and observe all the action intently.

There was a lot of hands on shaping of the mound and getting it to just the right angle and fall for a good slide speed! Luckily we had two little toddler helpers that were happy to be testers for us.
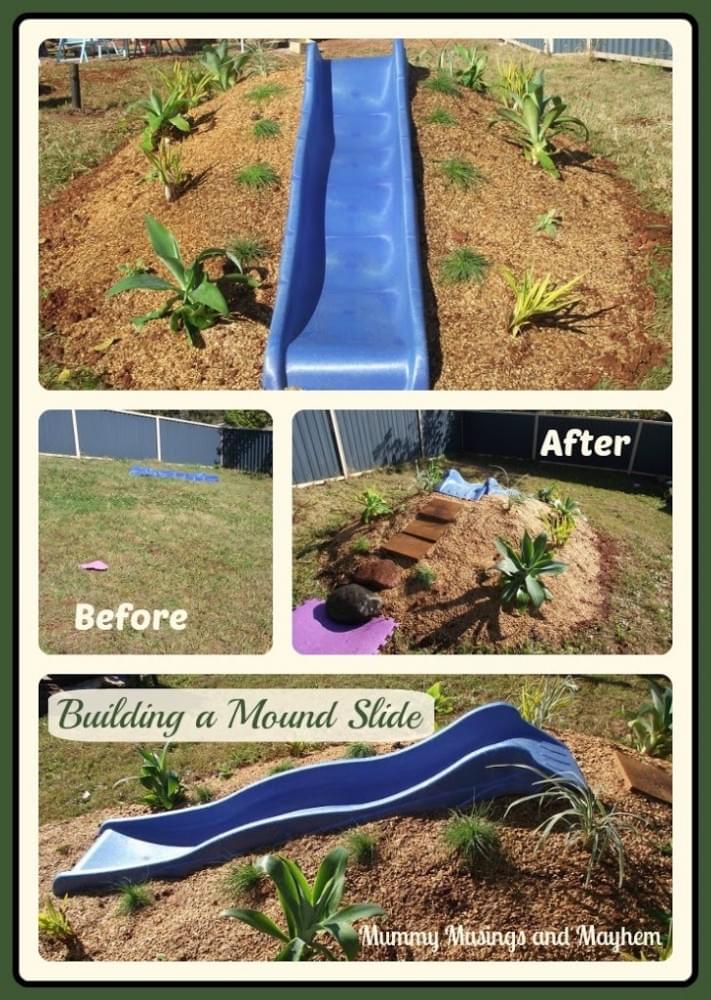
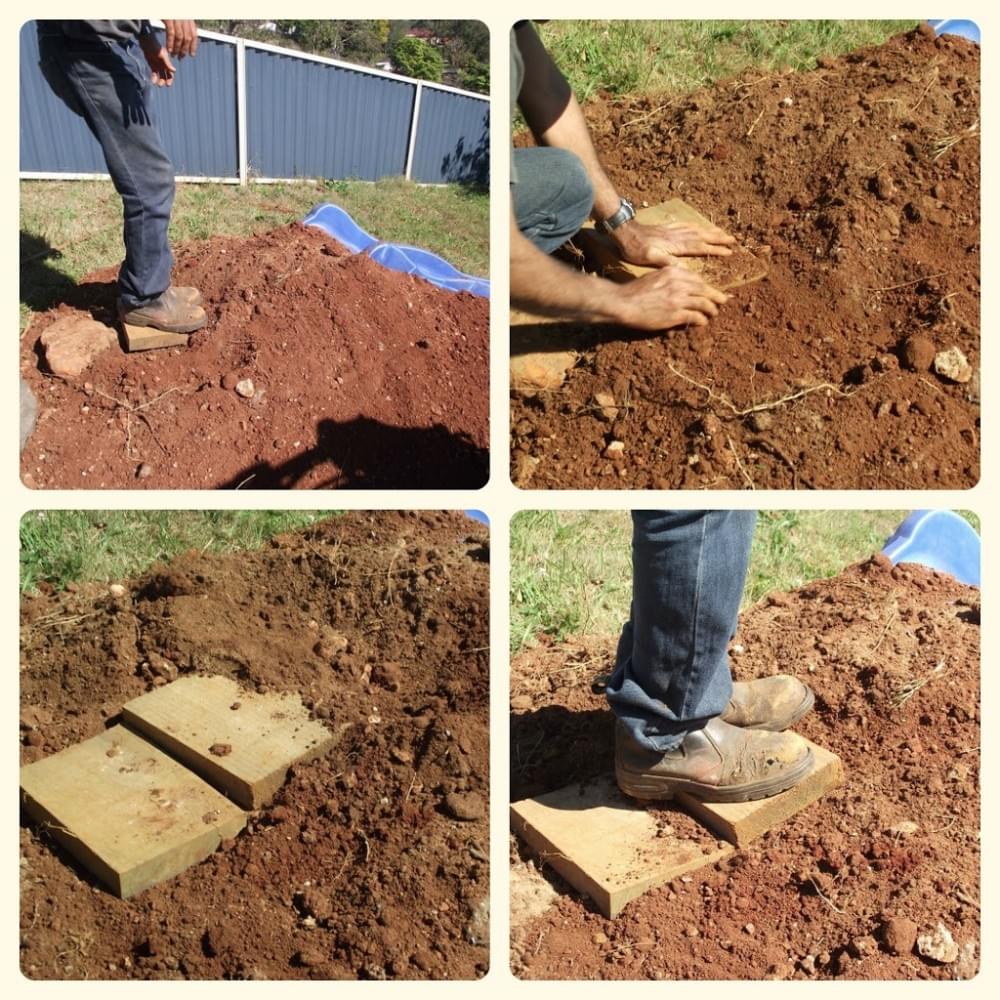
Once the mound was firmly packed and in the shape we wanted it was time to add some steps. We had thought of a few possibilities including a pallet ladder or climbing board but decided to use materials we had leftover from other recent projects.
So the steps were made from a few small boulders and wood offcuts. His Patient Self made small trenches before placing each step in and making sure they were close to level…we then filled in the dirt around them.
Stepping on them bedded them really well which I guess makes sense since that’s what steps are for!
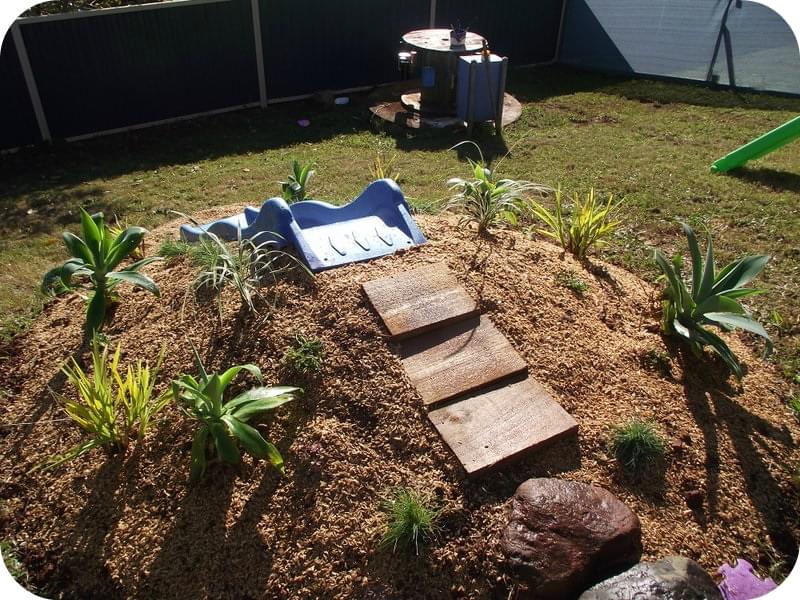
There is no real need for the steps, It is only a small mound so children are able to clamber up the side easily but I felt this added a little touch of whimsy and is something else to climb and balance on!

As you can see in the picture below they are by no means perfect…or even straight but don’t you think that just adds to the charm?
As soon as we gave the ok, the toddler twosome were straight onto it to test out their skills! They were so excited and there was much risk taking and exploring with different ways to slide!
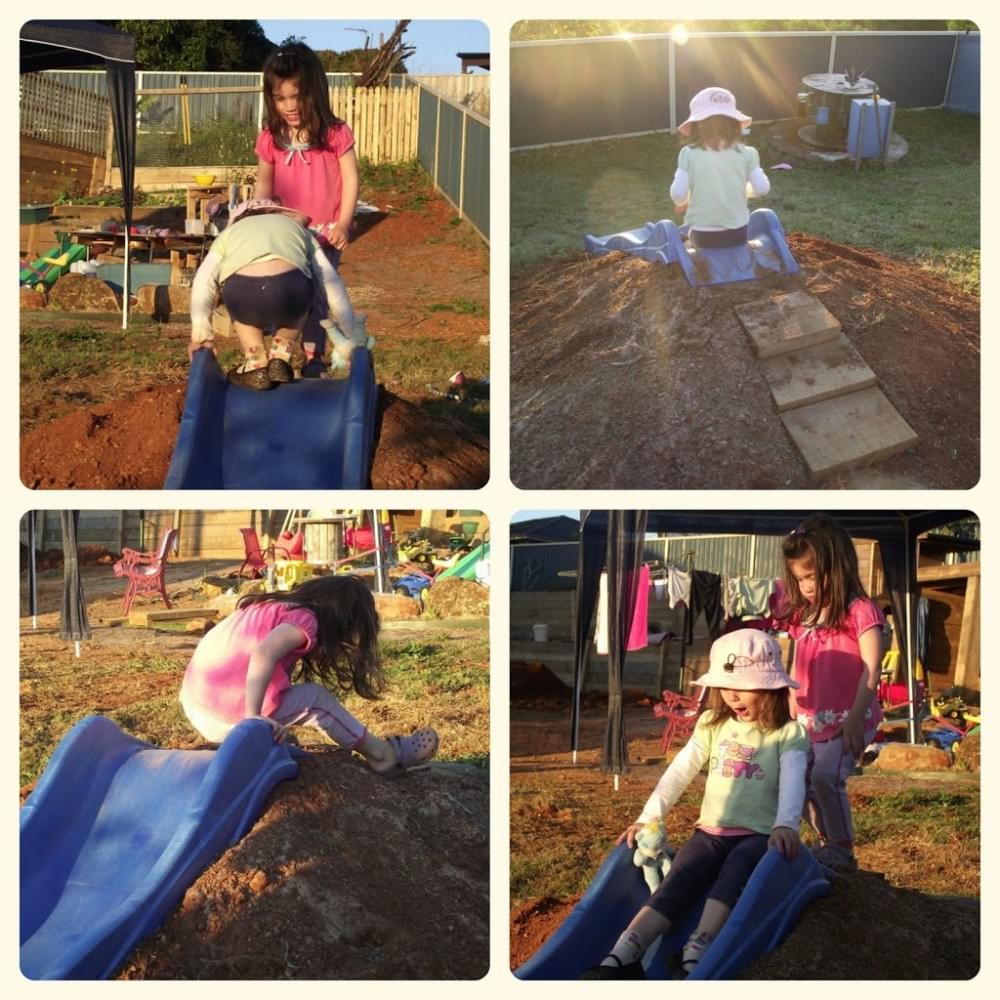
Lots of discovery and imaginative play occurred all afternoon... even Miss Teen had to join in!
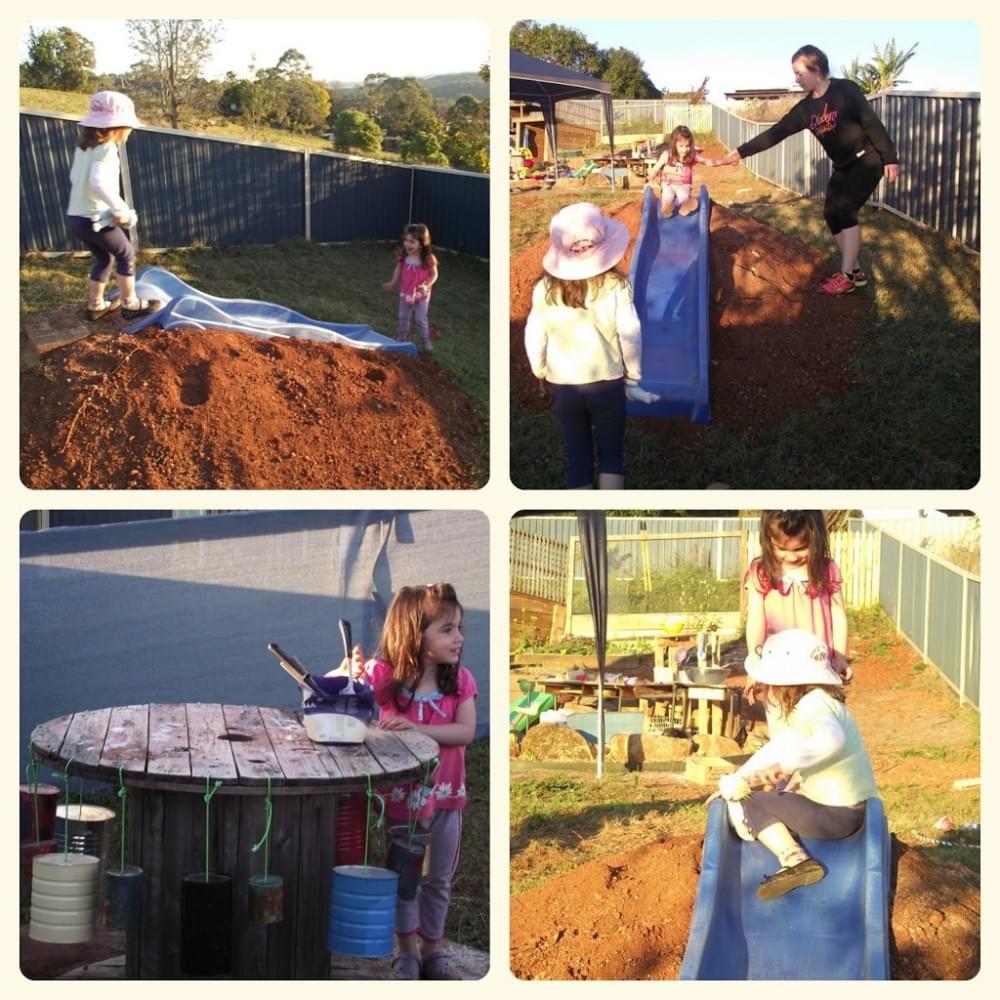
I decided to finish the mound off the next day as I just didn’t have the heart to ask the girls to get off as they were having so much fun!
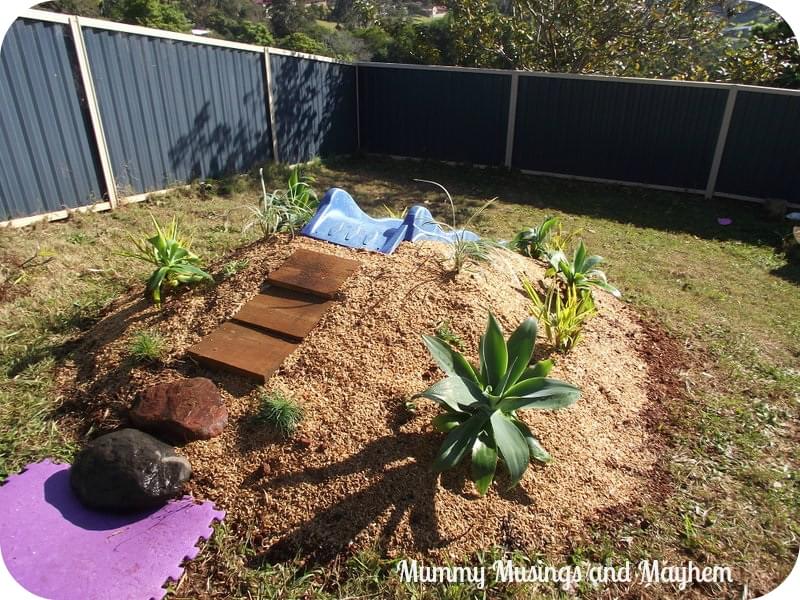
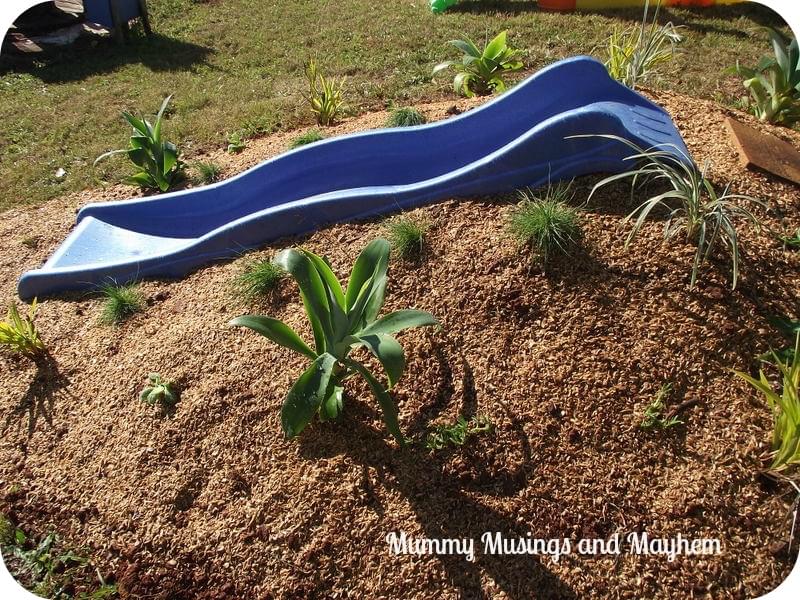
To save money I scoured our established front gardens and was able to get a little collection of plants to add to the mound.
We could have left it for the grass to eventually grow over it but his patient self pointed out that it it would be quite difficult to mow so I decided to turn it into a sensory garden.
There are grasses that will grow and move in the wind…some soft and others broad and strappy, some succulents that will grow down the mound and withstand the heat, and a few smaller plants that offer different aromas as they are brushed against or picked. All are hardy plants and able to withstand the trampling of little feet once they are established.
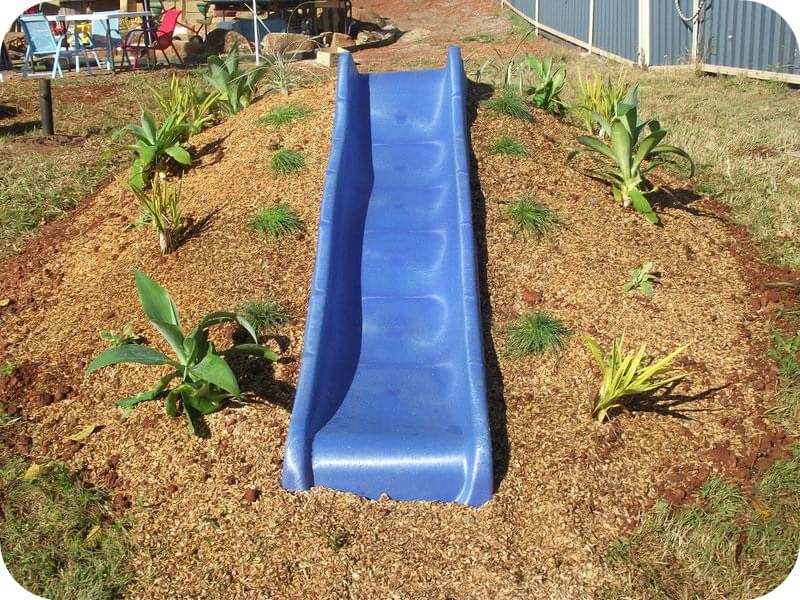
A little softfall mulch to hold everything together and provide a softer place to land and our new slide and mound are finished! The mulch and plants offer their own opportunities for sensory play and exploration…..the rest of the discovery I shall leave to the children…they will know just what to do, I plan to enjoy sitting back and watching!
