Tips For A Creating An Outdoor Space
Creating the perfect outdoor space is all about comfort, flow, and personality. From cozy seating to lighting and greenery, this guide offers practical ideas to help you design your ideal open-air retreat.
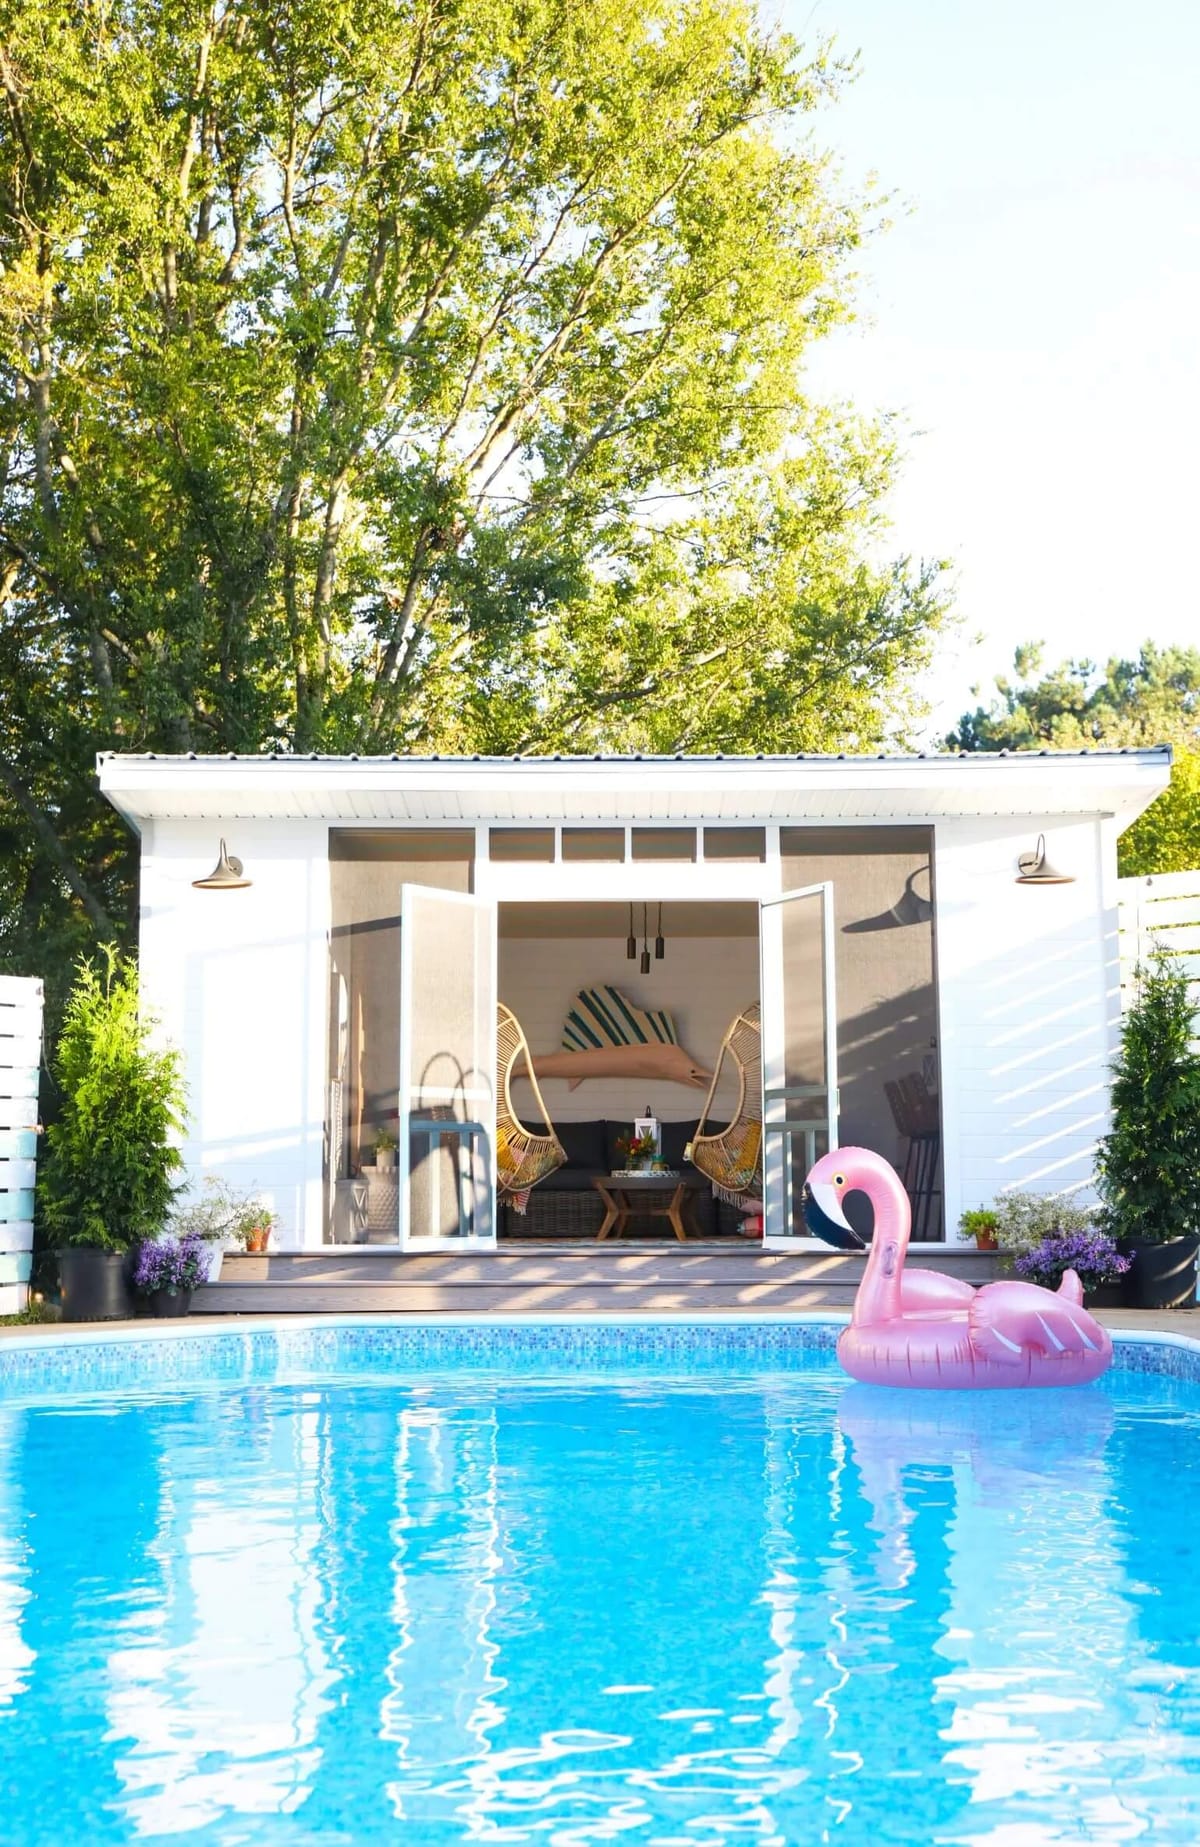
We’ve been slowly but surely creating our own little secret garden in our back yard, ever since the apocalypse. Up until that point, we’d been really busy with the inside, and with our amazing clients. This home has been a journey – a work in progress, and we’ve been slow but steady at making it our very own. It was like the world decided to end, so we planted 147 trees in our acre lot, expanded our fence, established a new dining area and built a cabana… all in one season. Dare I say it, 2020 had its high points when it came to that whole, more-time-at-home-part.
It’s the season for all things outdoor spaces! And we are here for it. So today, we thought we’d share some of our very favorite tips for creating an outdoor space!
Make Your Weaknesses Work for You
We’ve taken on a few outdoor spaces in the past years. I think the key here is embracing your weaknesses and working with them whole heartedly. We’re talking changes that can be made to fully utilize what you already have.
We think that the first phase is stepping back, taking a deep breath and saying… how can I use what I have? Not everything is a TV show and not everything happens during a commercial break. Instagram and Pinterest are great for inspiration but we hope we always show you the real side, too.
Our first few years here, we happily used this little shed in the back, until we could keep going on our house.
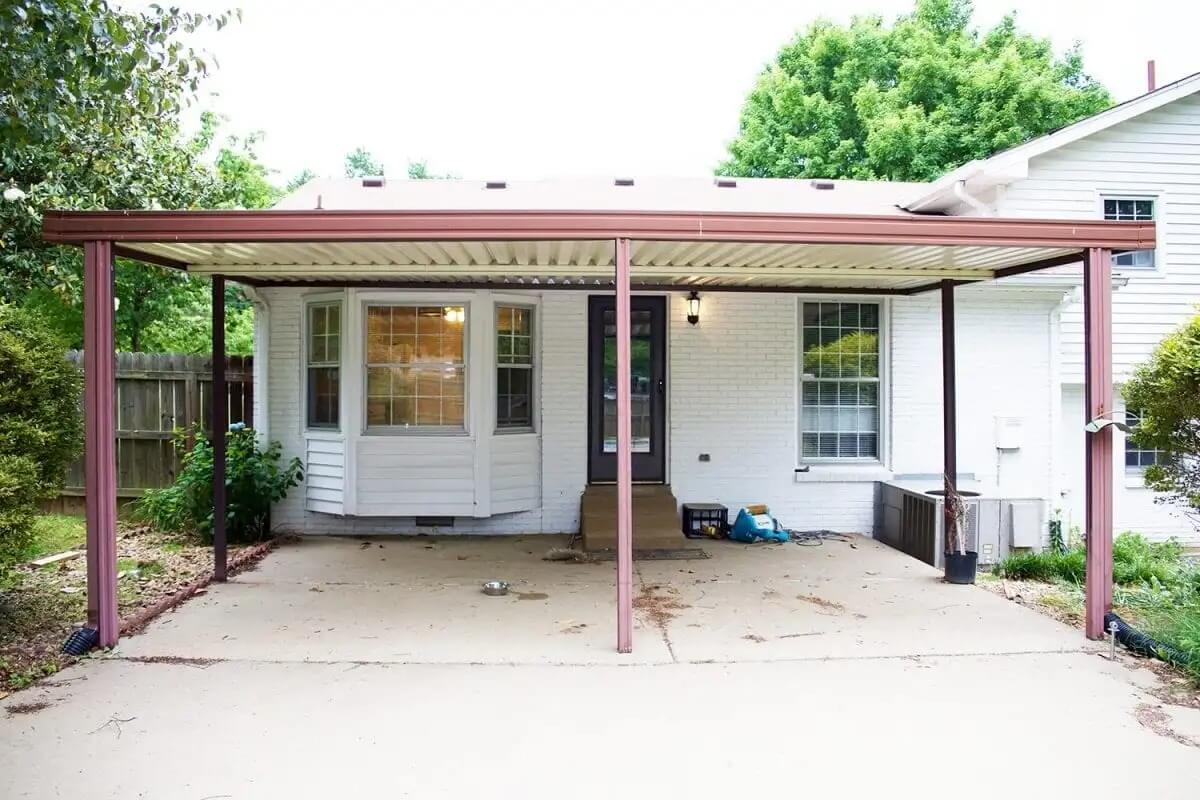
And you’d be amazed by what a little elbow grease and simple character can do to an old 70’s metal hangover thingy. ;}
It did a lot for us in our in the meantime phase. We have a whole room here now, but this is a prime example of repurposing and using what you have.
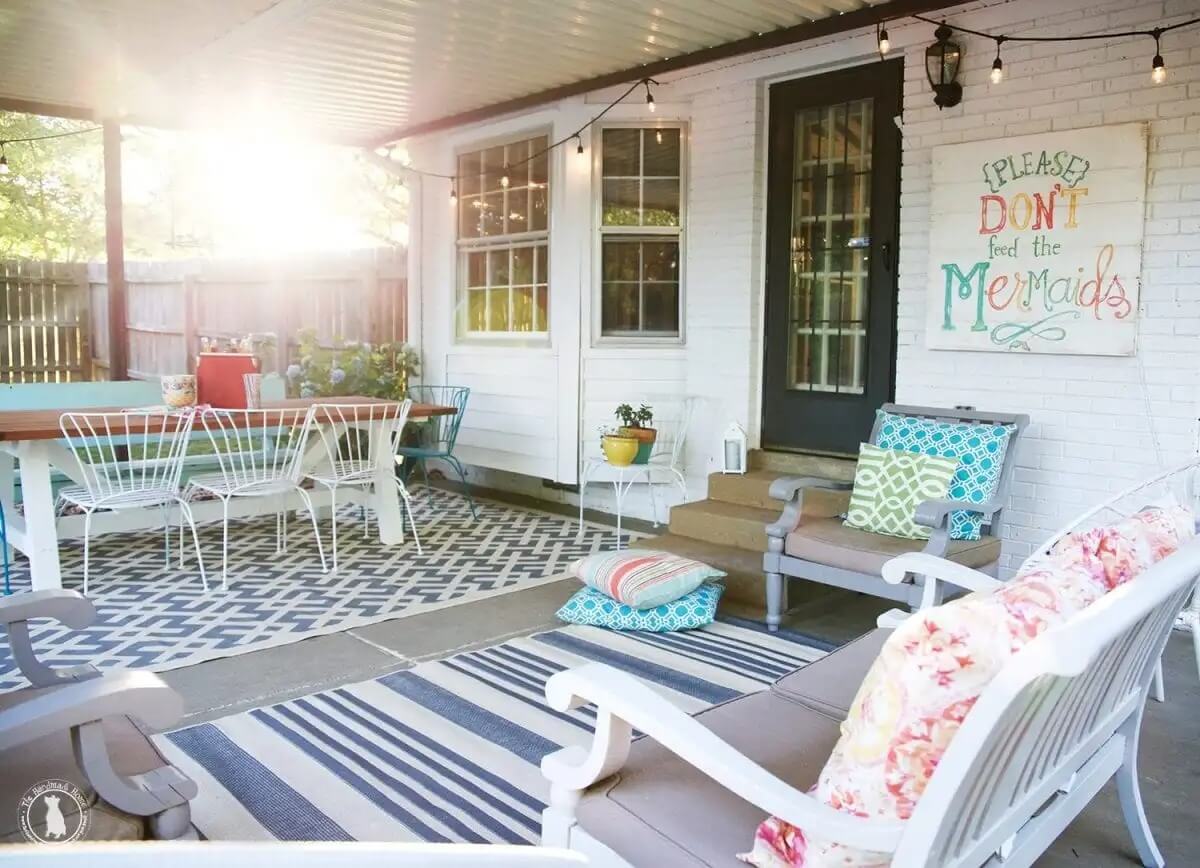
So there’s a quote somewhere that says, an artist’s limitations are their greatest strength. Or something like that. Our point? These spaces weren’t stellar to begin with. They only took a little creativity to bring them back to life. We always say embrace it, and move forward.
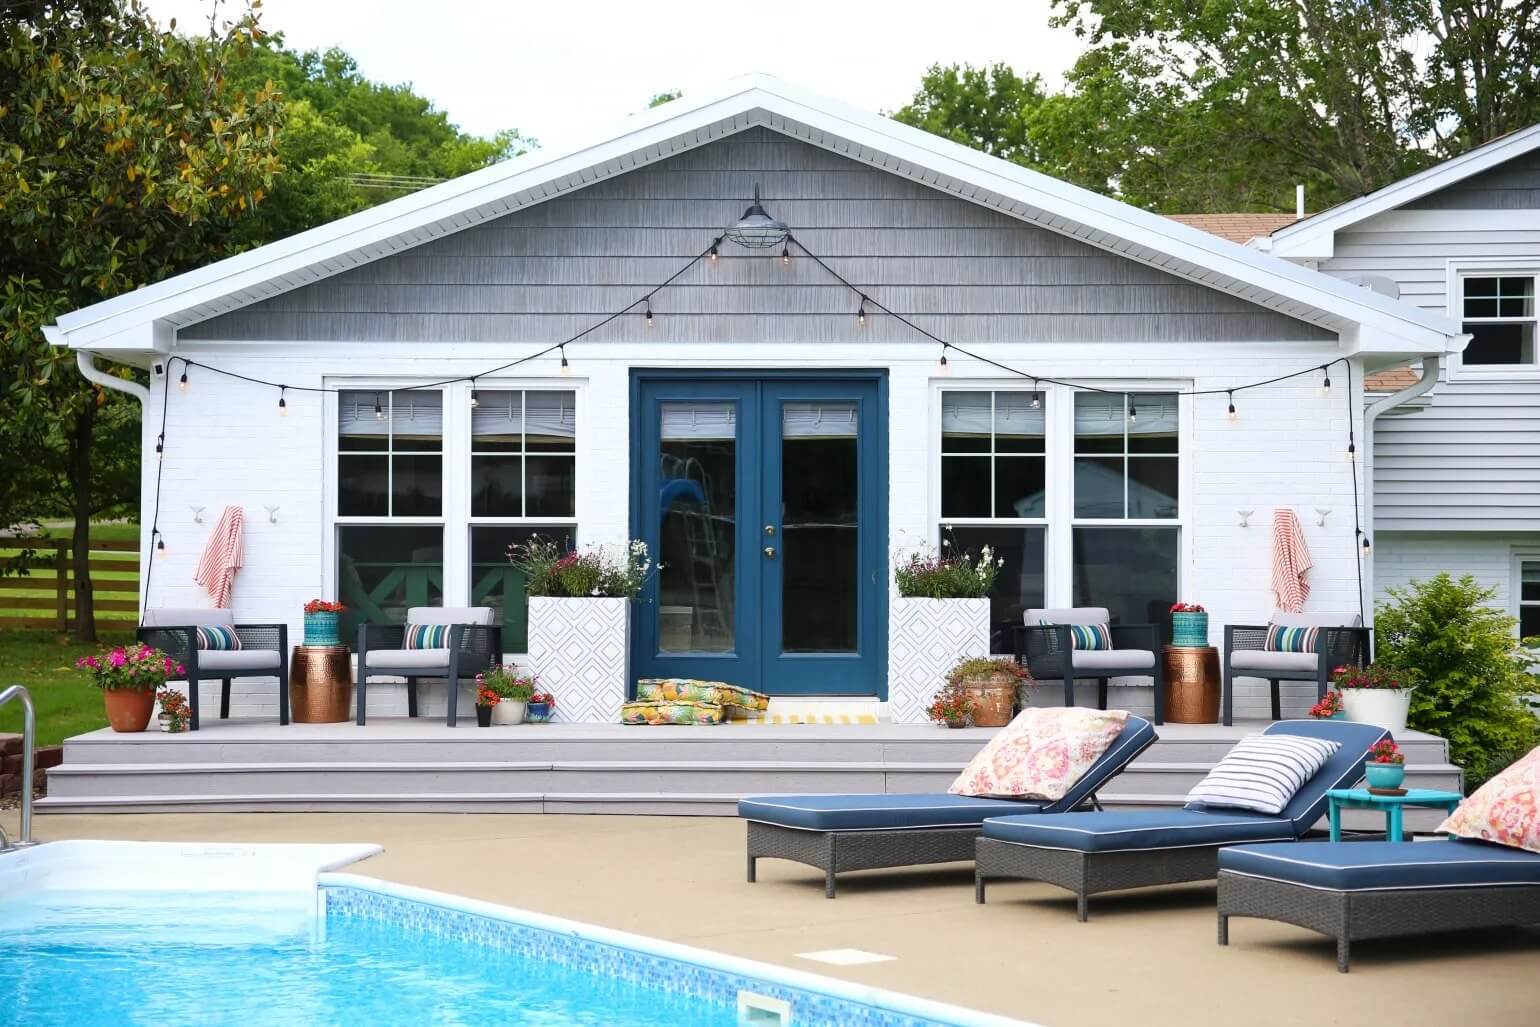
Create zones
I’d say as shown above, create both short term and long term goals. Rome wasn’t built in a day, and neither is a home. So have goals for both. What works immediately, (AKA. our little shed in the back) and what works in the long term (AKA. building an entire addition onto your home, if you see a vision) and work from there.
Once you’ve accepted your space as a good place to start {accepting your reality into making it your own beautiful version of what you want} you can move forward into addressing your needs. Do you want a space to dine alfresco? Do your friends need a space to lounge? Would you like a spot for the kids to play?
Break it down into what you’d really like, and let your space serve those needs.
Get creative with your materials
Think of your outside space as a room. And think in terms of a variety of materials, layered with texture to bring character and interest to an otherwise plain Jane space.
Then, use those materials to define your zones. Once upon a time, a brick guy over-ordered and left all these bricks behind at our house. They became a side dining area for the great outdoors and we really enjoyed using it as our outdoor dining space.
You can divide plain old concrete with some outdoor rugs. Build a pergola to establish a dining area. Use handmade shutters to help bring interest to your space.
We’ve used a variety of finishes like painted concrete, cobblestone pavers, and rocks lining the gardens to keep it varied, defined, and interesting. Of course, I’m not even touching on the endless natural accessory that is plants, and the different ways you can use them to bring dull areas to life. We’re in the middle of that, with our front yard, now. Think beyond the rule-infused (and sometimes self-limiting) ‘regular’ stuff when it comes to a backyard and give it a jolt with a variety of materials. This will help define your space and is one of the simplest tips for creating an outdoor space.
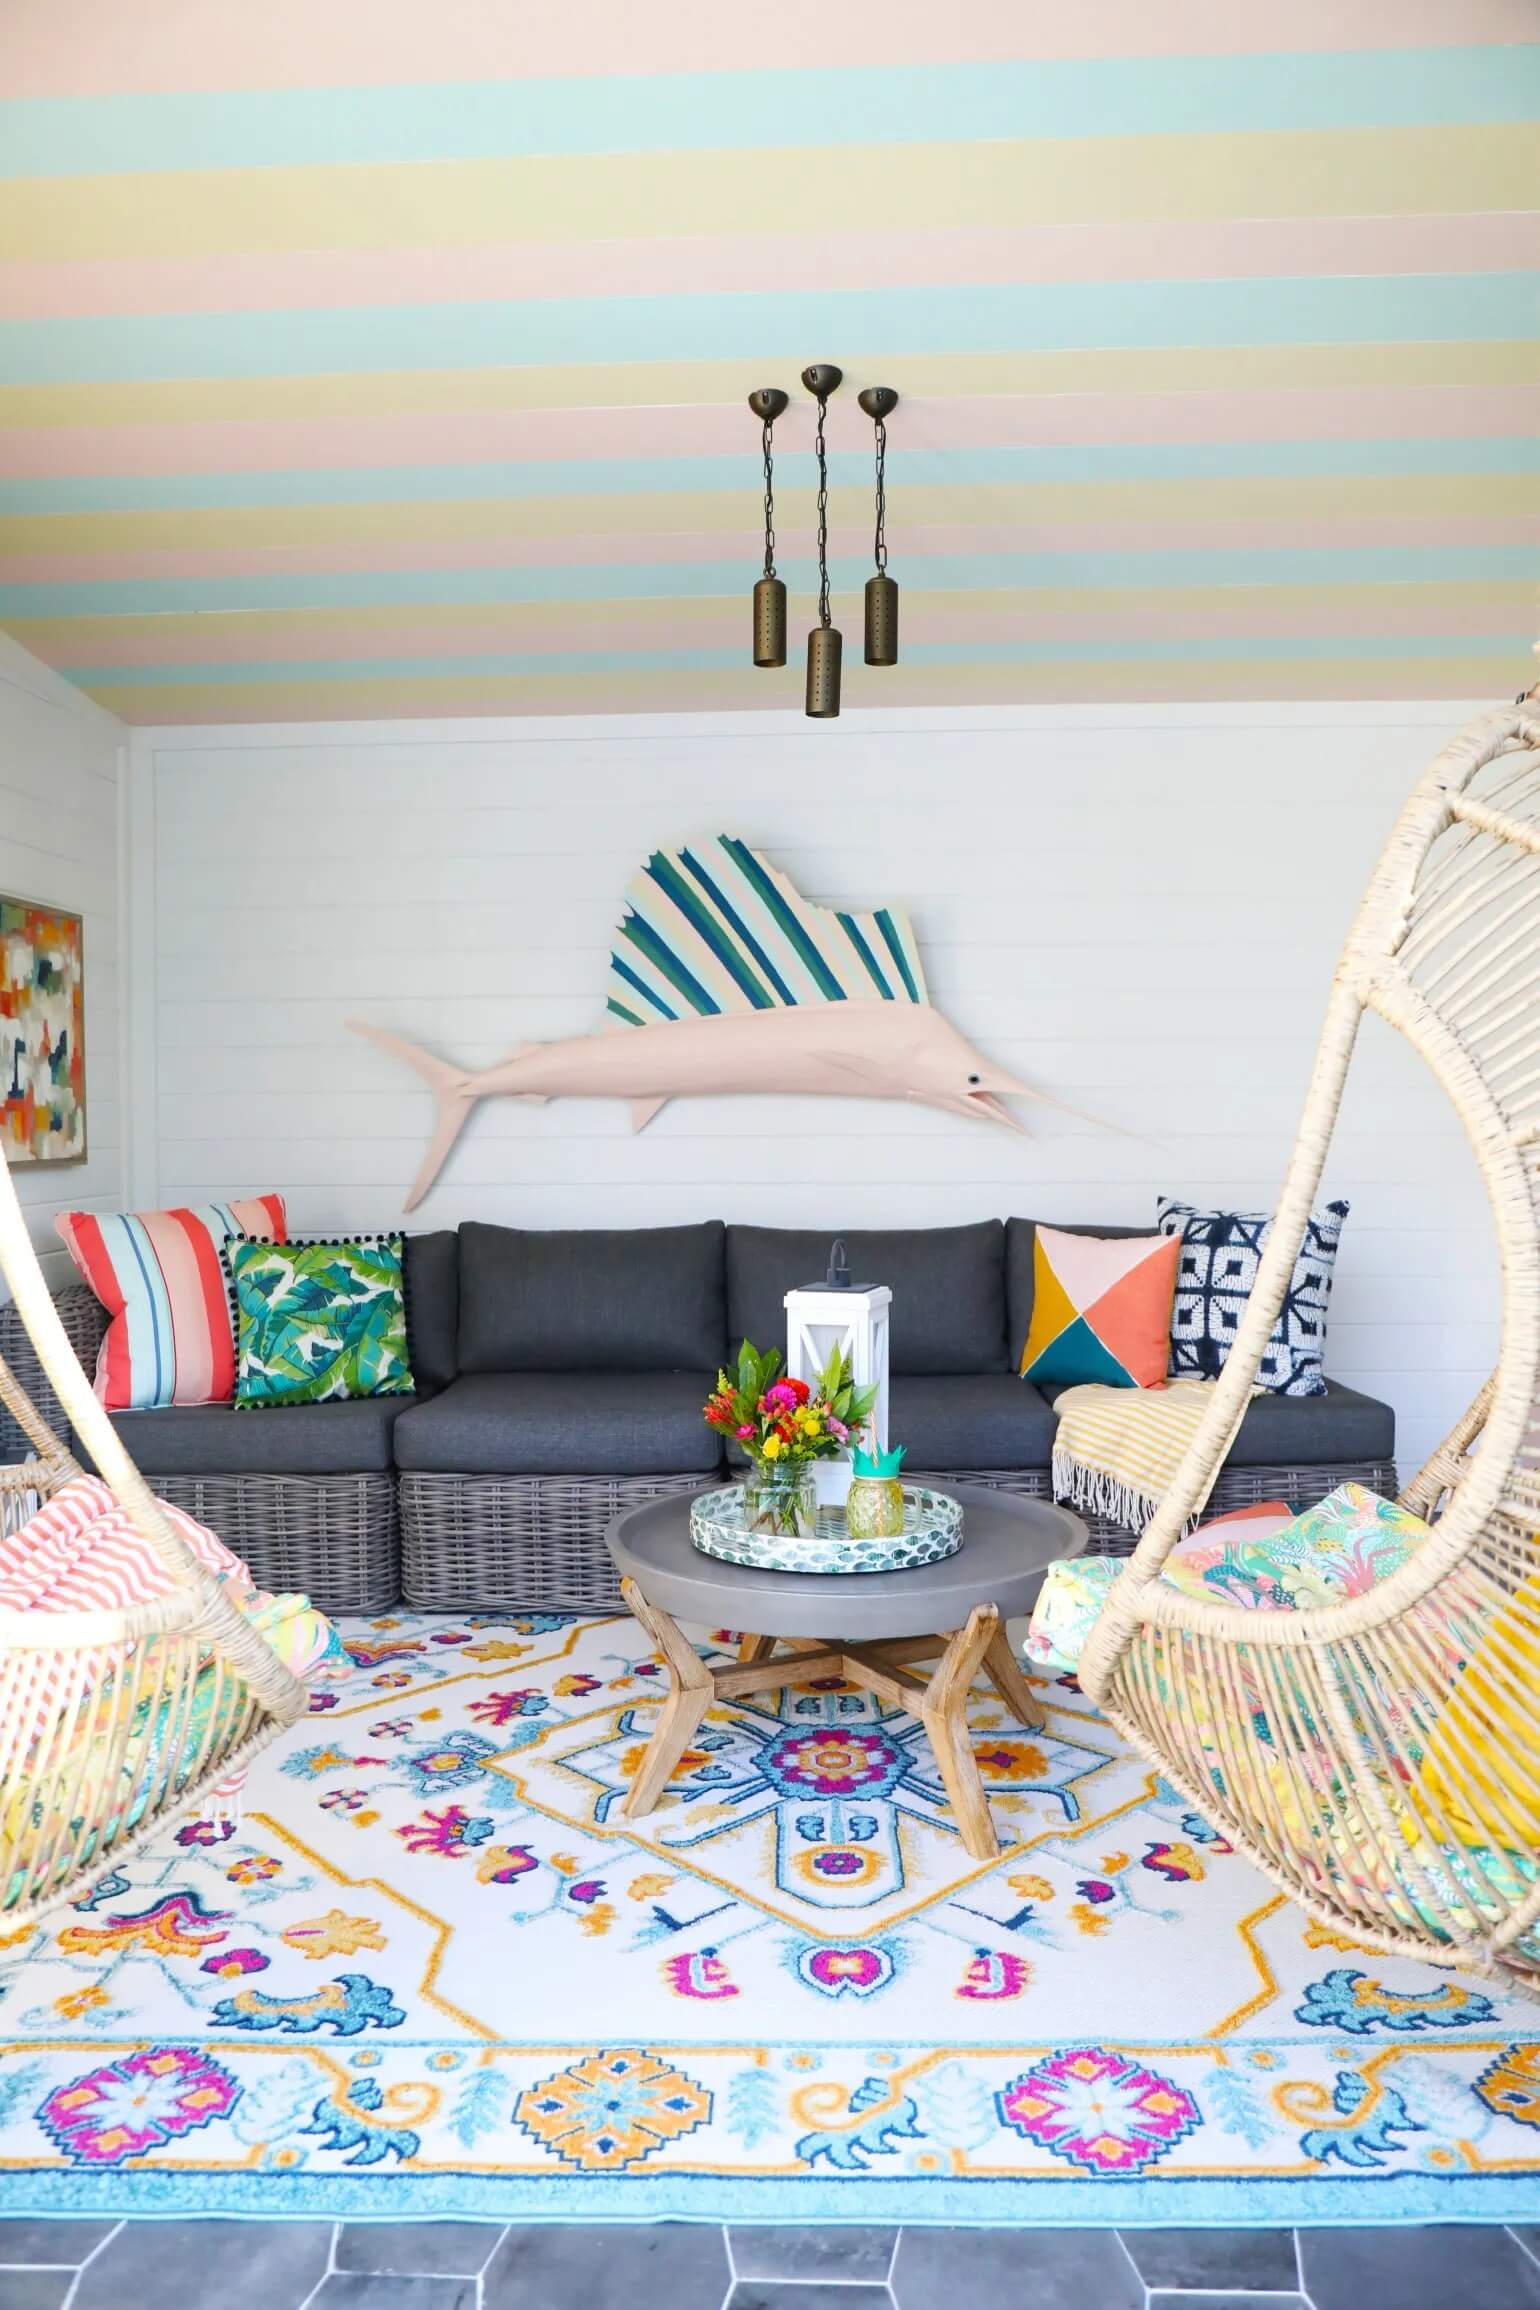
Furniture
We had the same furniture for decades, and then we finally upgraded a few years ago with the cabana. With that though, we scoured sales, and combined them with old and new.
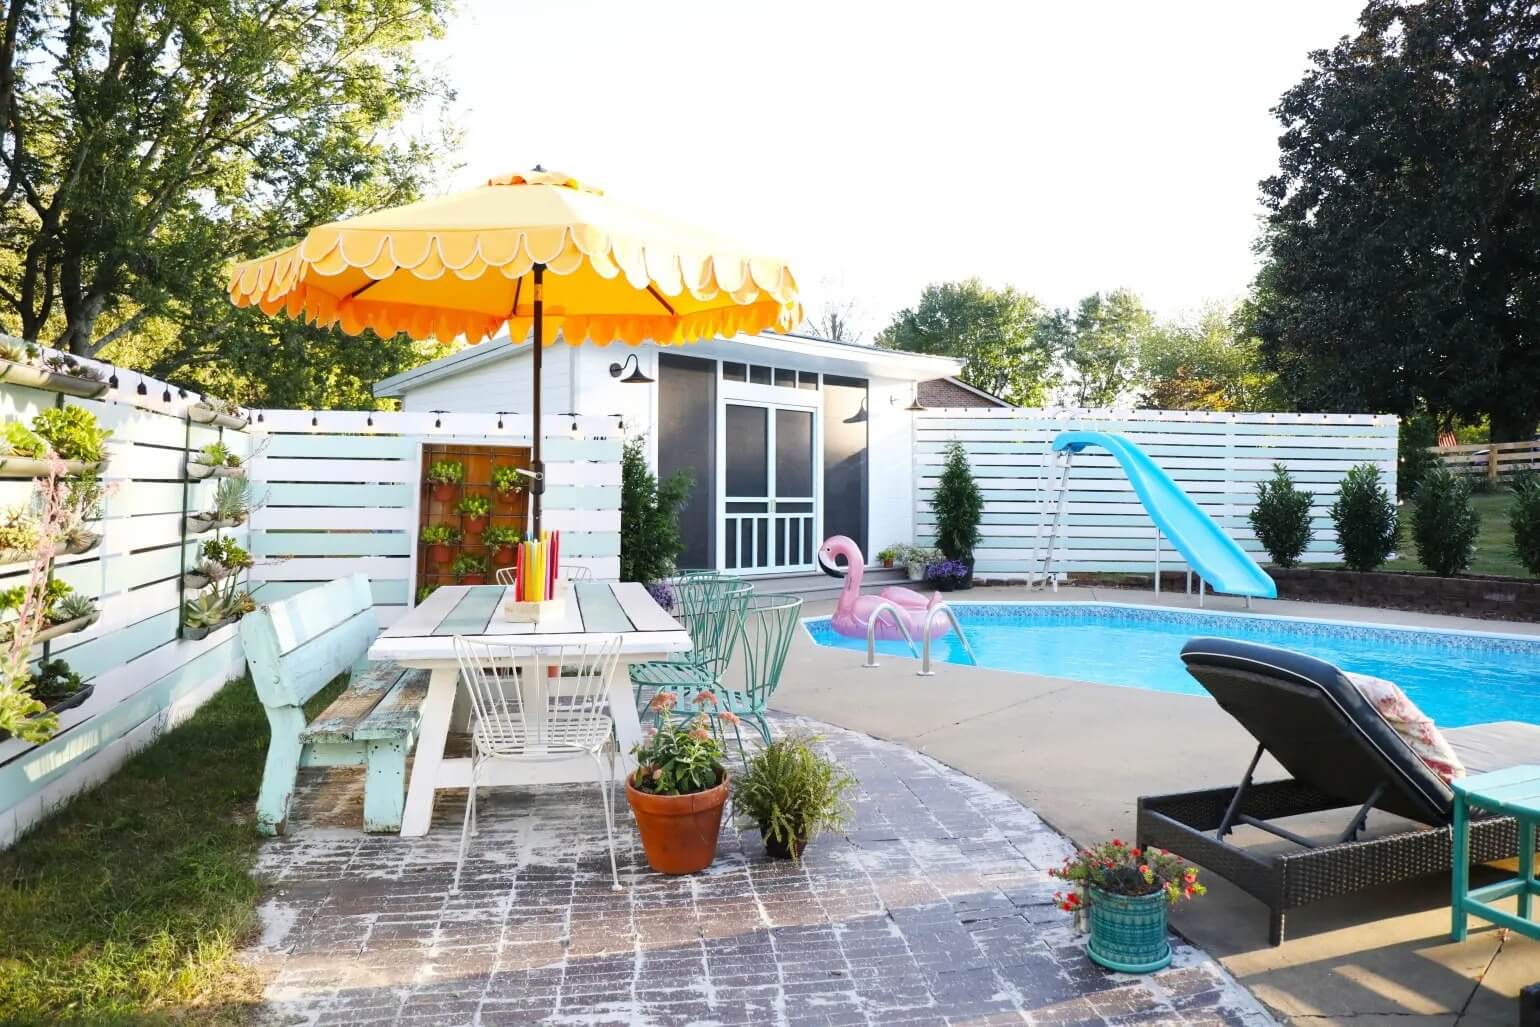
In the same way that you use texture and layers, apply it to your furnishings in the back yard.
Using different pieces in unexpected ways (see table top with a door + glass) or giving them a dual purpose (see firepit + table top) or even something as simple as a swing combined with chairs in placement around a firepit… you get the picture. A handmade outdoor table is always fun. Thinking beyond the typical in simple ways can give you fun, personal results.
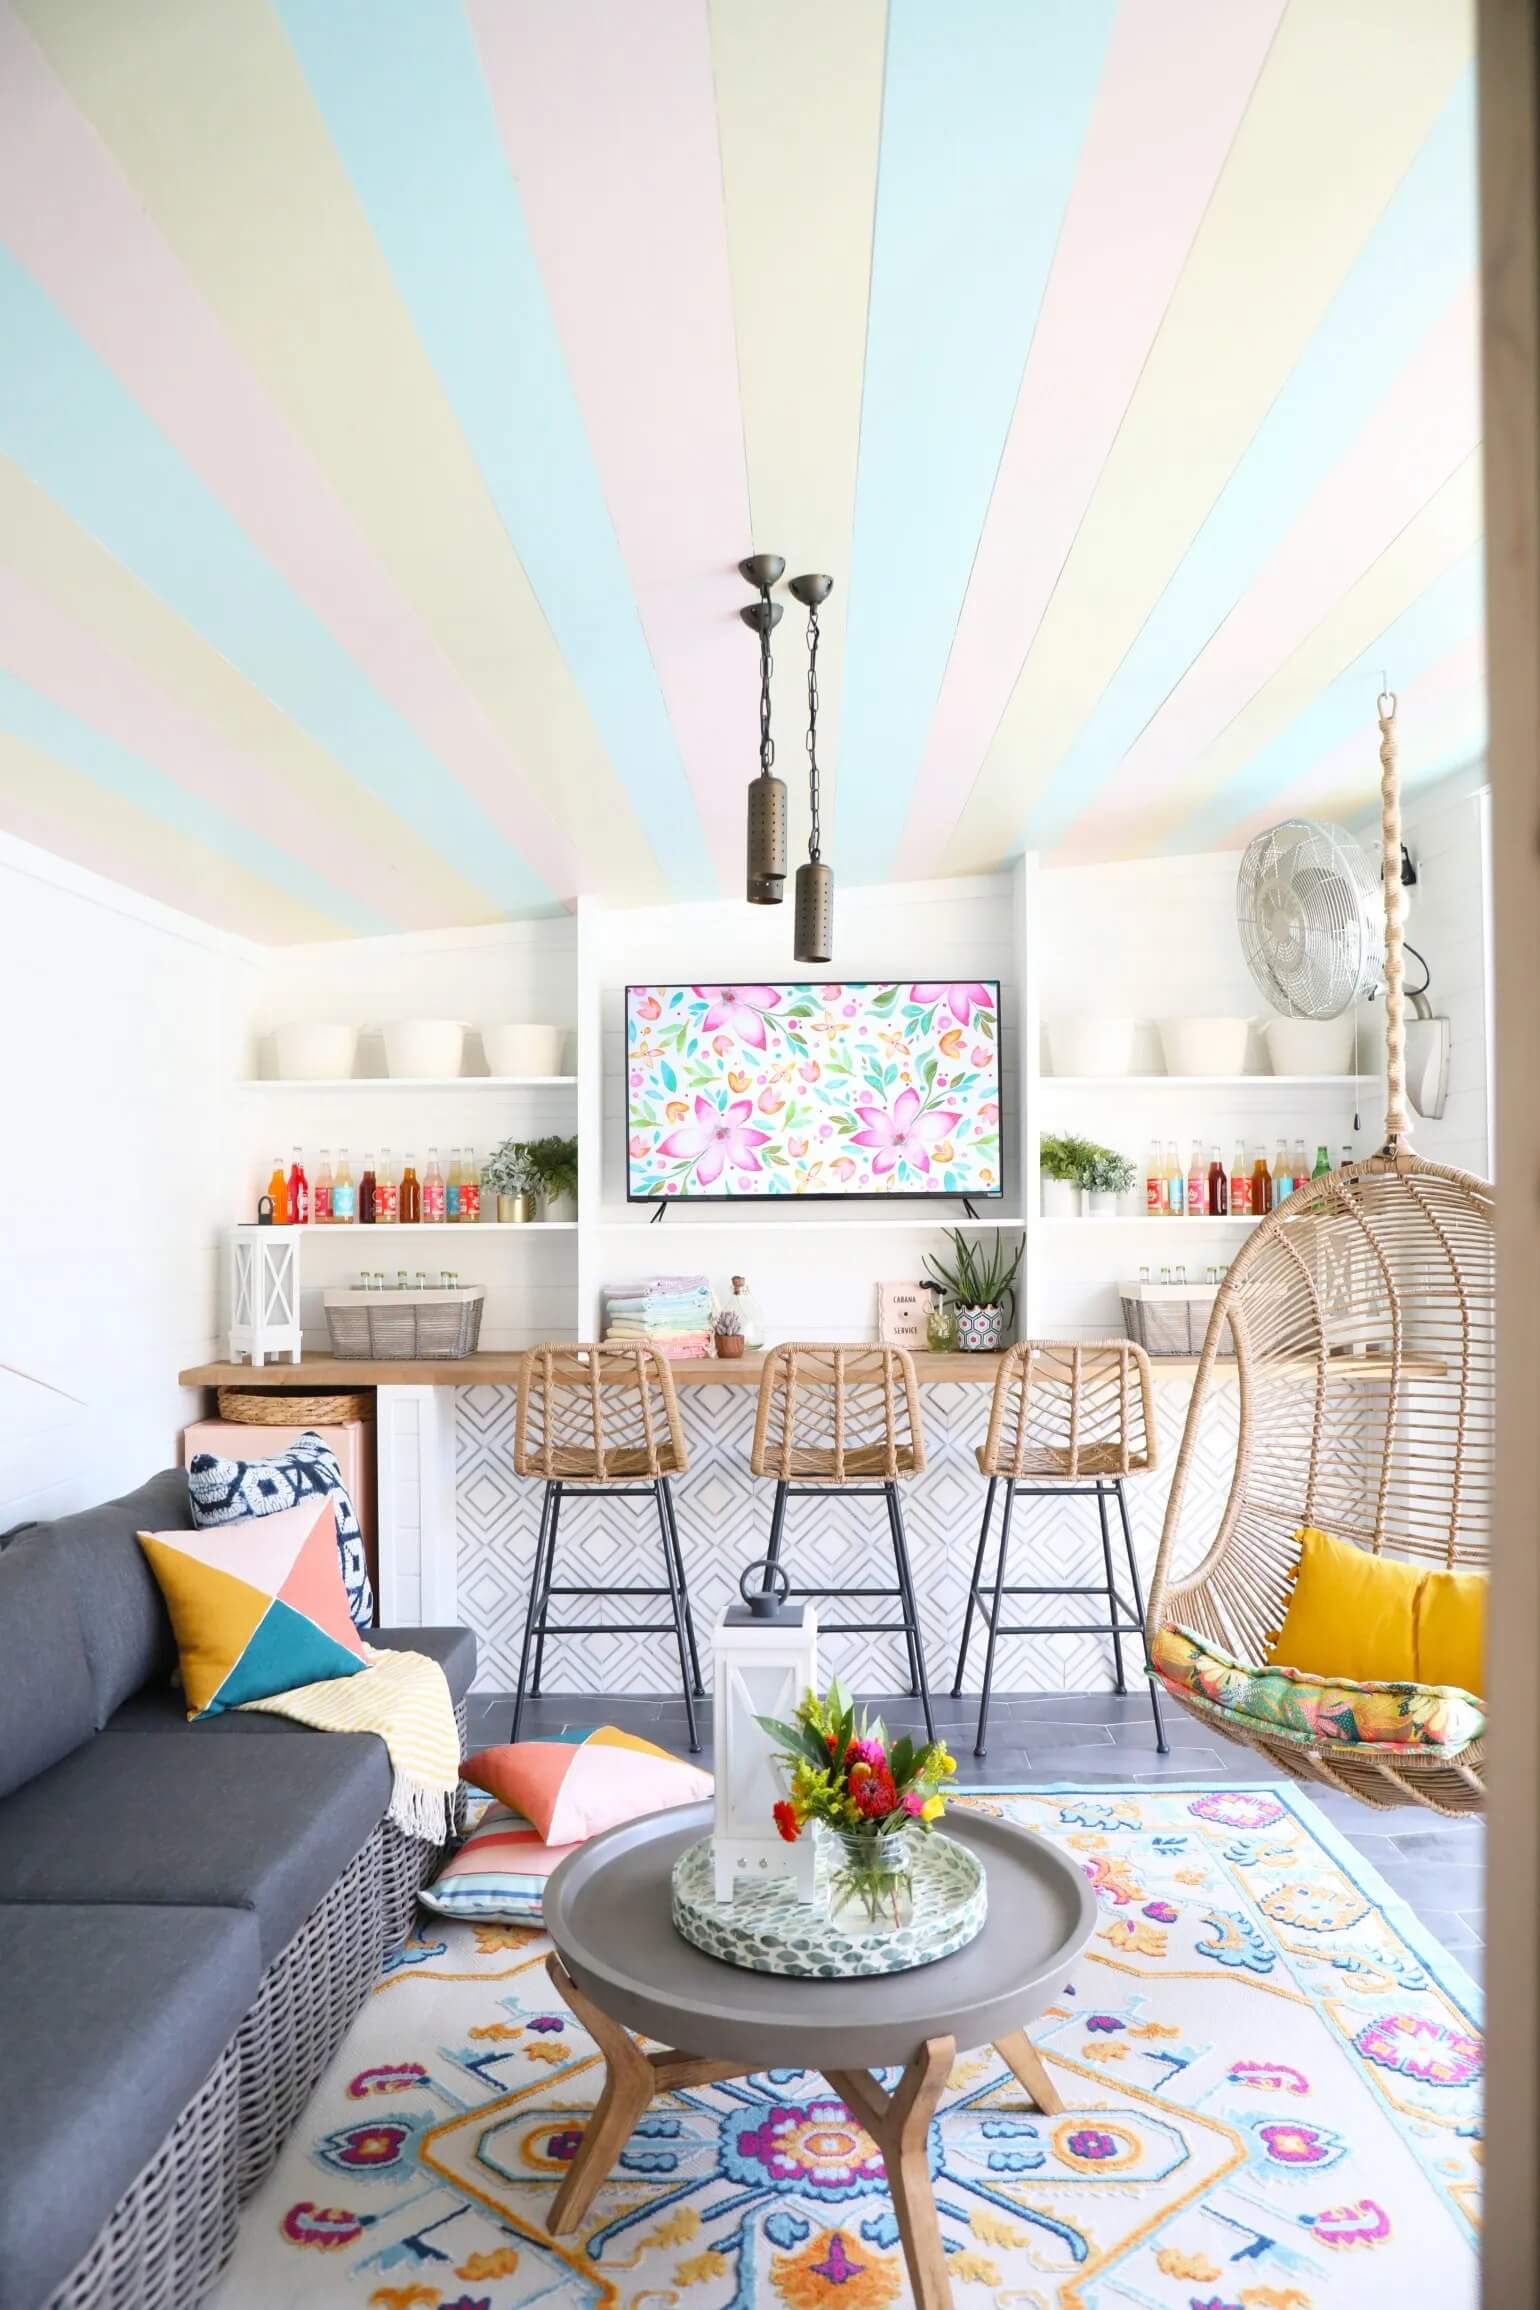
Color
I mean, it’s kind of a given with us, right?
It’s outside. I know that neutrals are a big deal right now, but you’re allowed to have a little fun.
Pull colors together and use repetition with variety to infuse it with character.
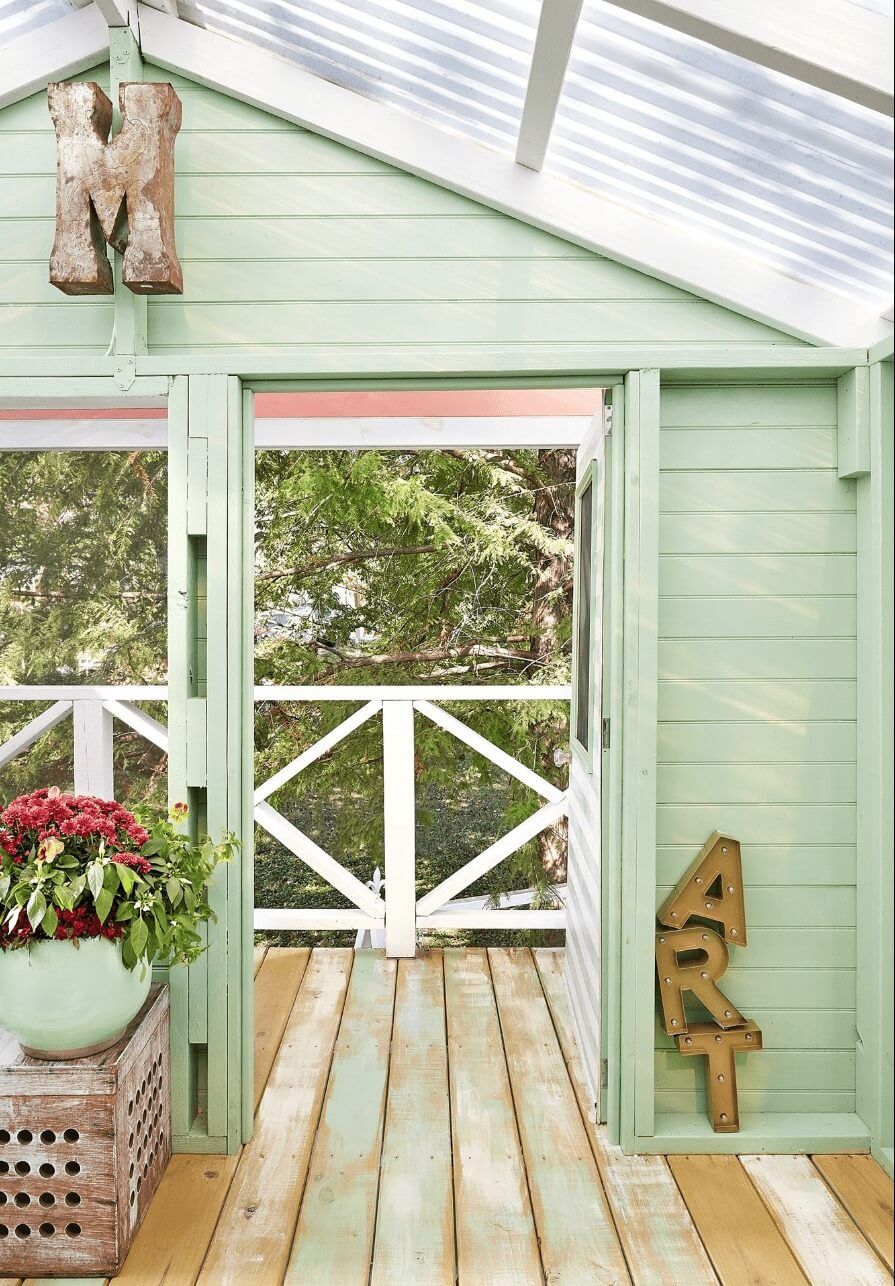
Lighting
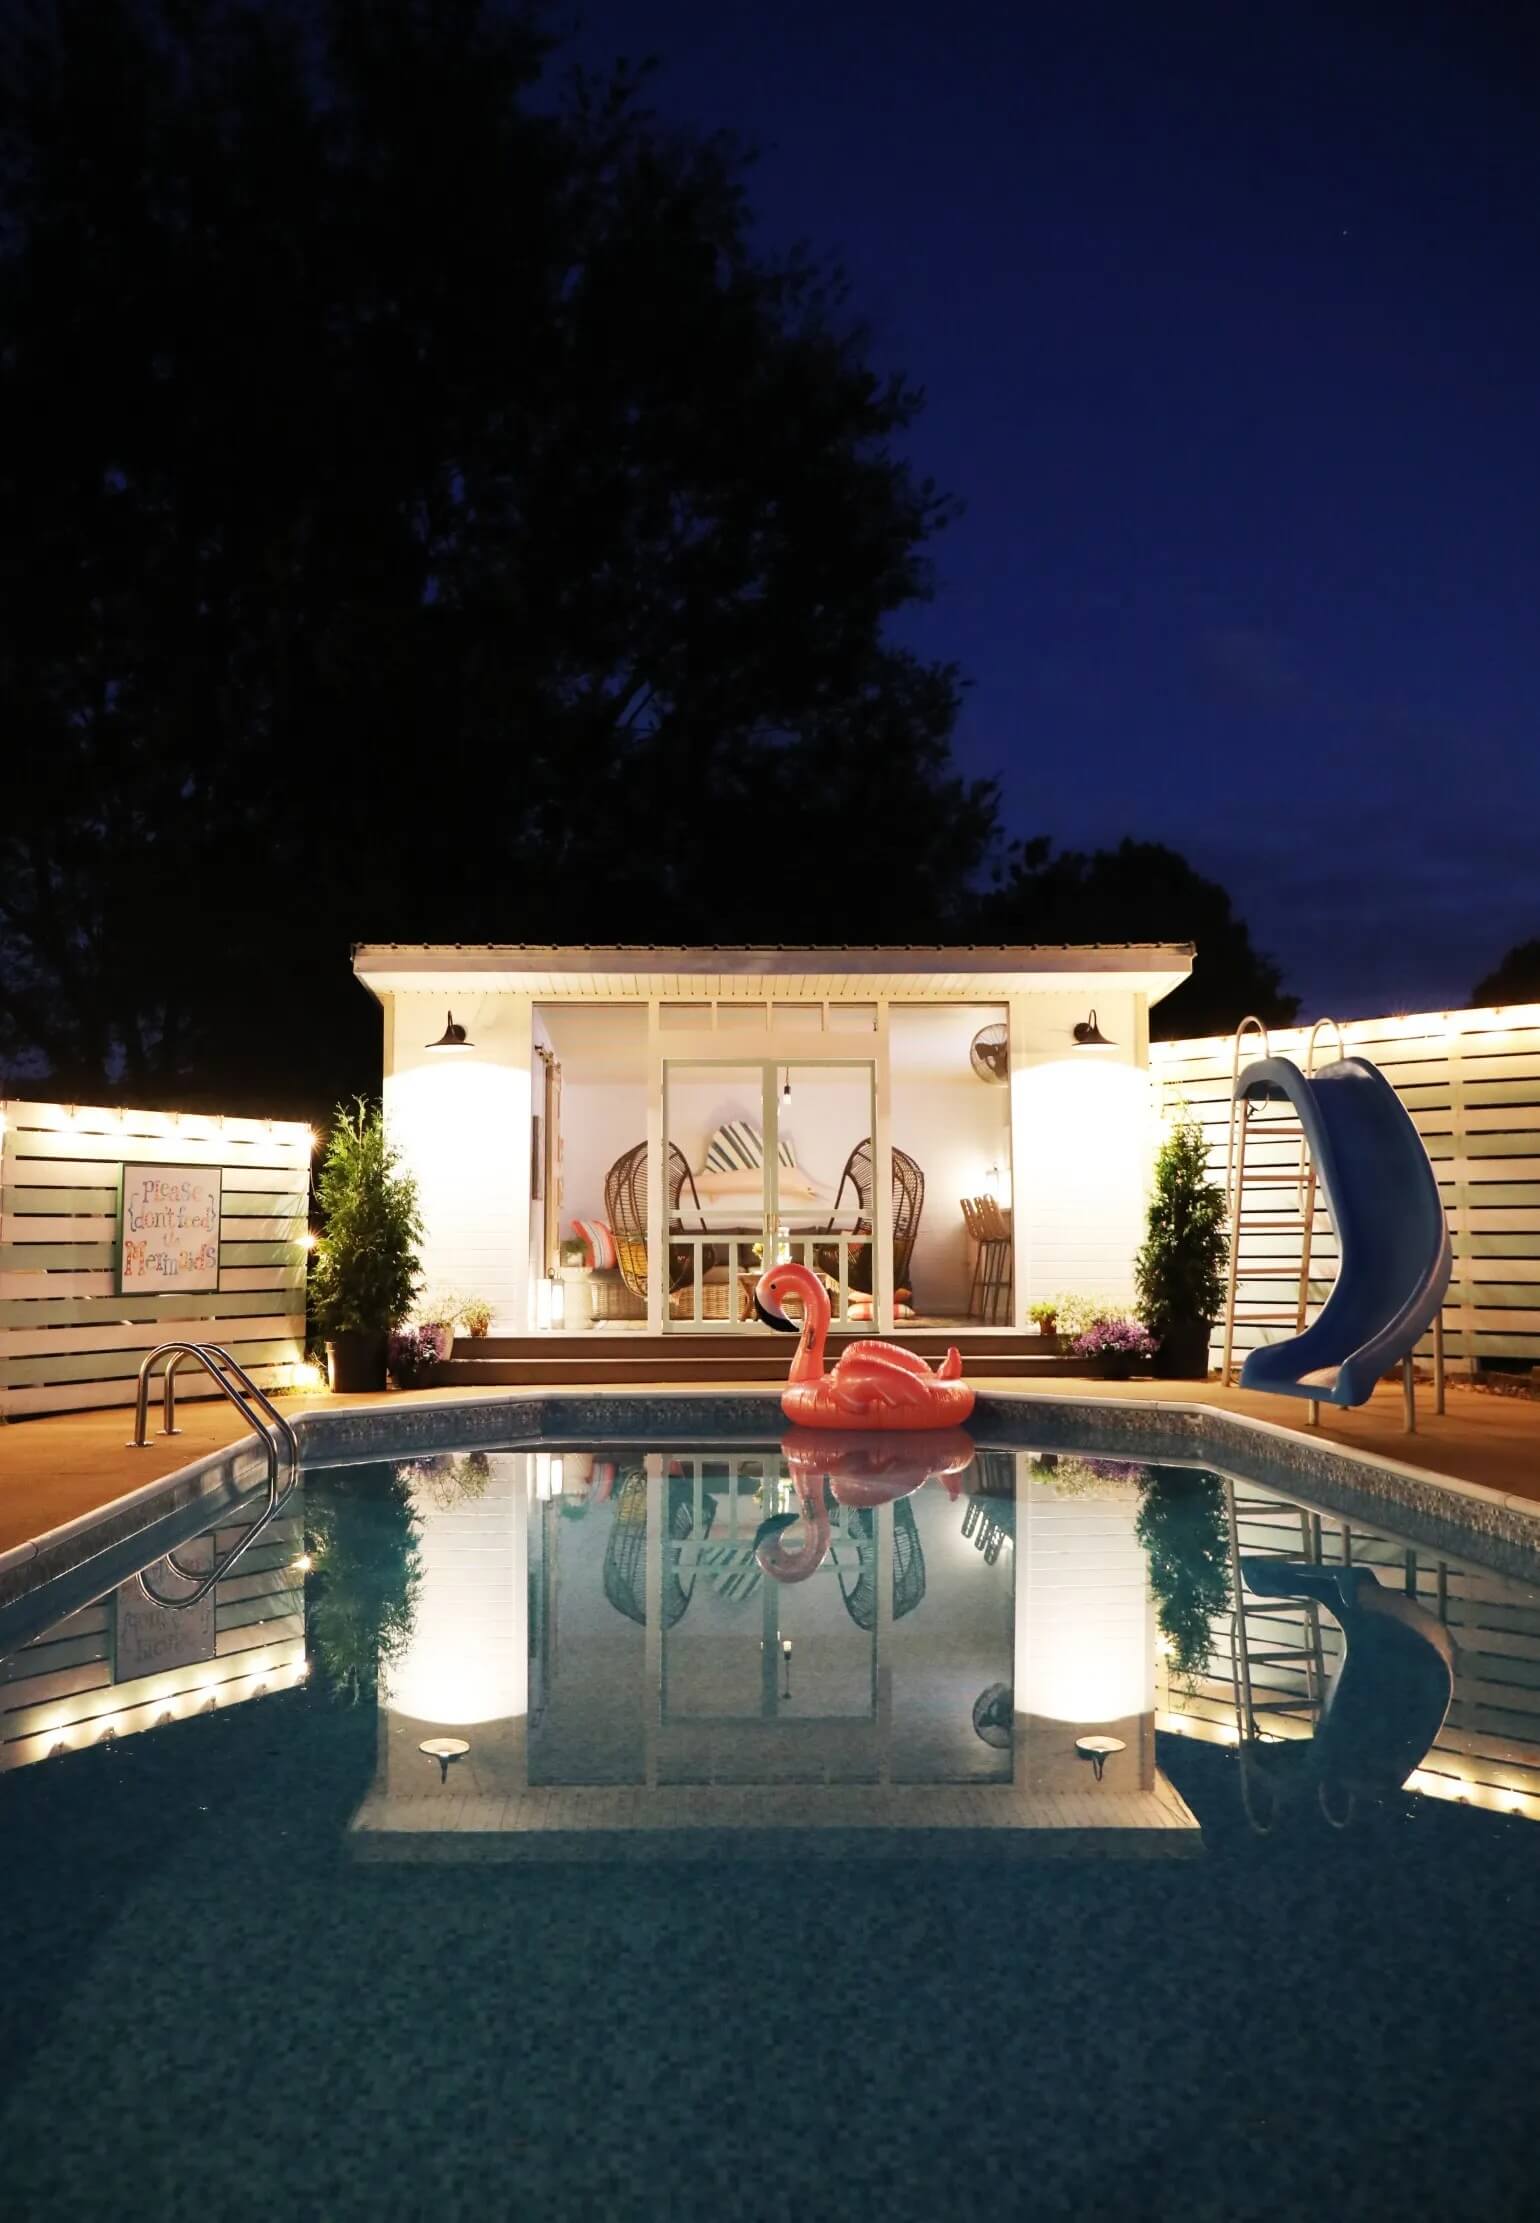
No matter what your limitations are that you’re faced with, there are ways around that. Whether it’s a fun landscaping installation, or simple cafe lights, lighting is the simplest way to add instant ambience to your outdoor setting. It doesn’t take much. You guys know we love Kichler for all of our lighting selections. They’re beyond amazing. Be sure to check out their landscape options, too.
Here’s the point. If we can take our current state of our home from this…
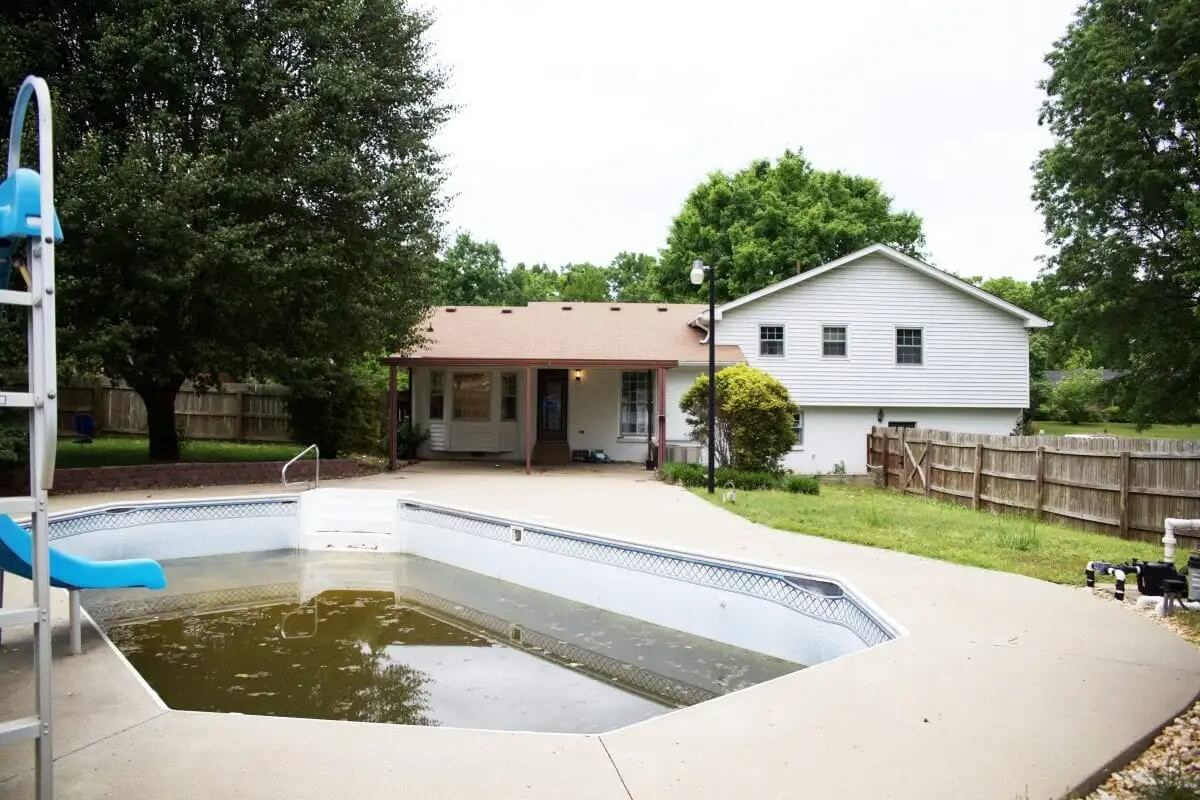
To this… (Even though in reality, it’s currently back to construction zone status + we have plans for that, too…)
It’s the little things, a lot of patience and time, that go a long way.
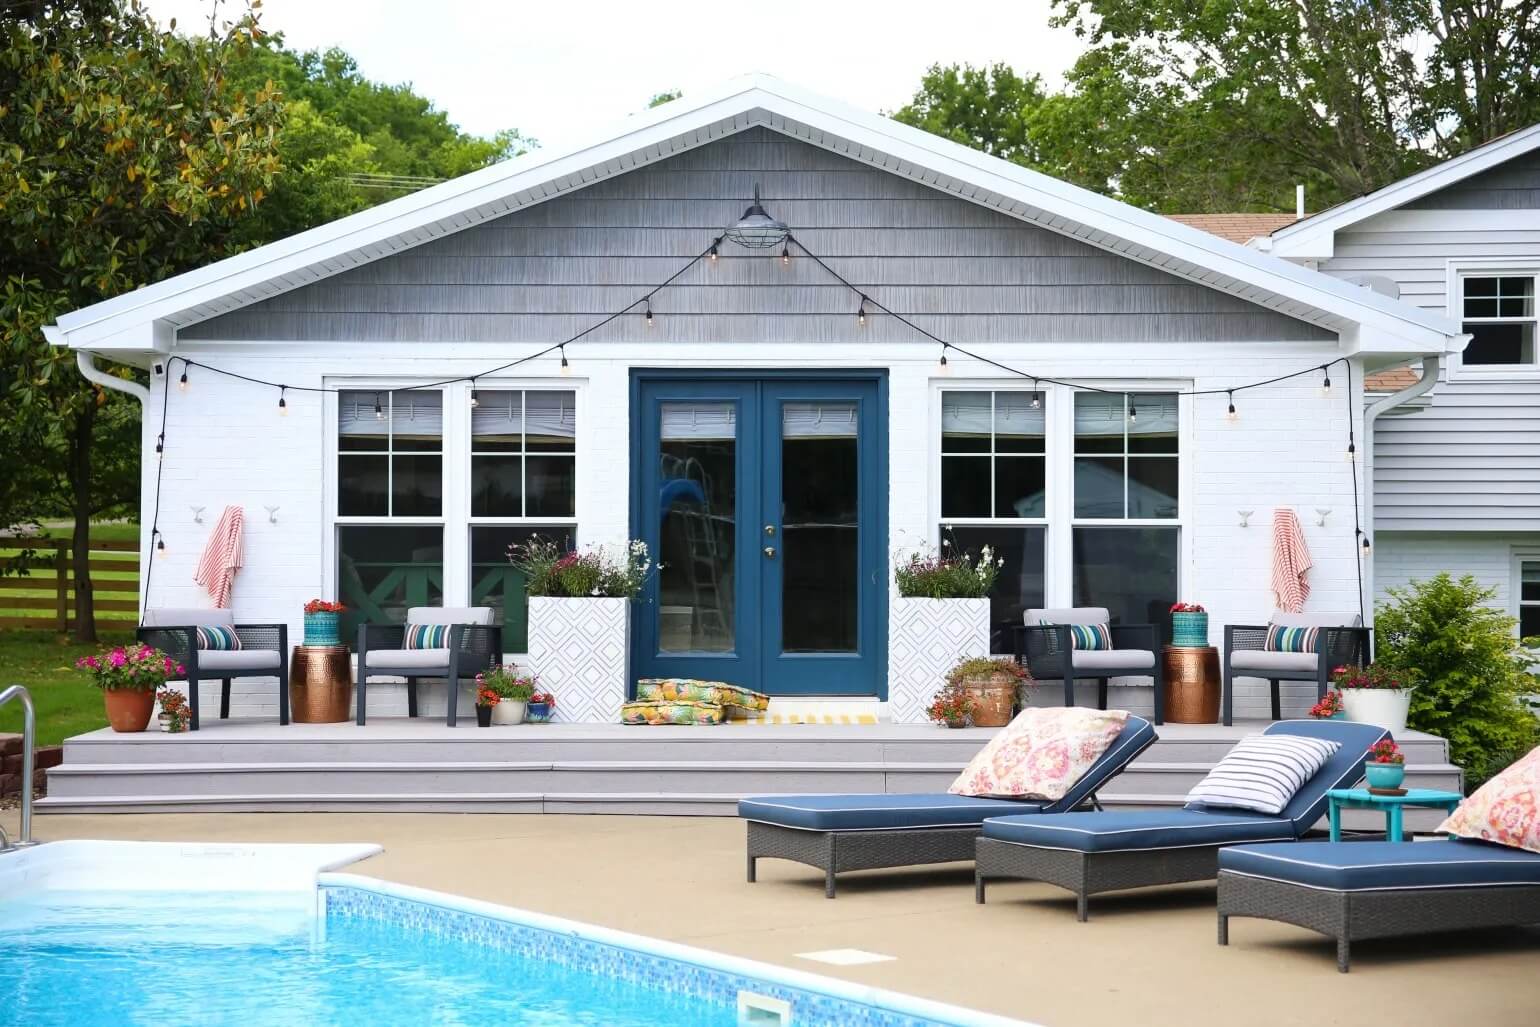
It’s always a work in progress
I think that this is one of the most important things to remember. Your outdoor space isn’t always going to look picture perfect. Things change outside. There are weeds that grow, pollen that collects, pressure washing that needs to be done and leaf gathering all in the meantime. Our pool will have to be completely redone in the next year or so. The furniture needs to be repainted, and I have to put curtains in the cabana to protect from the sun. The hideaway needs a good once over. It’s a whole thing.
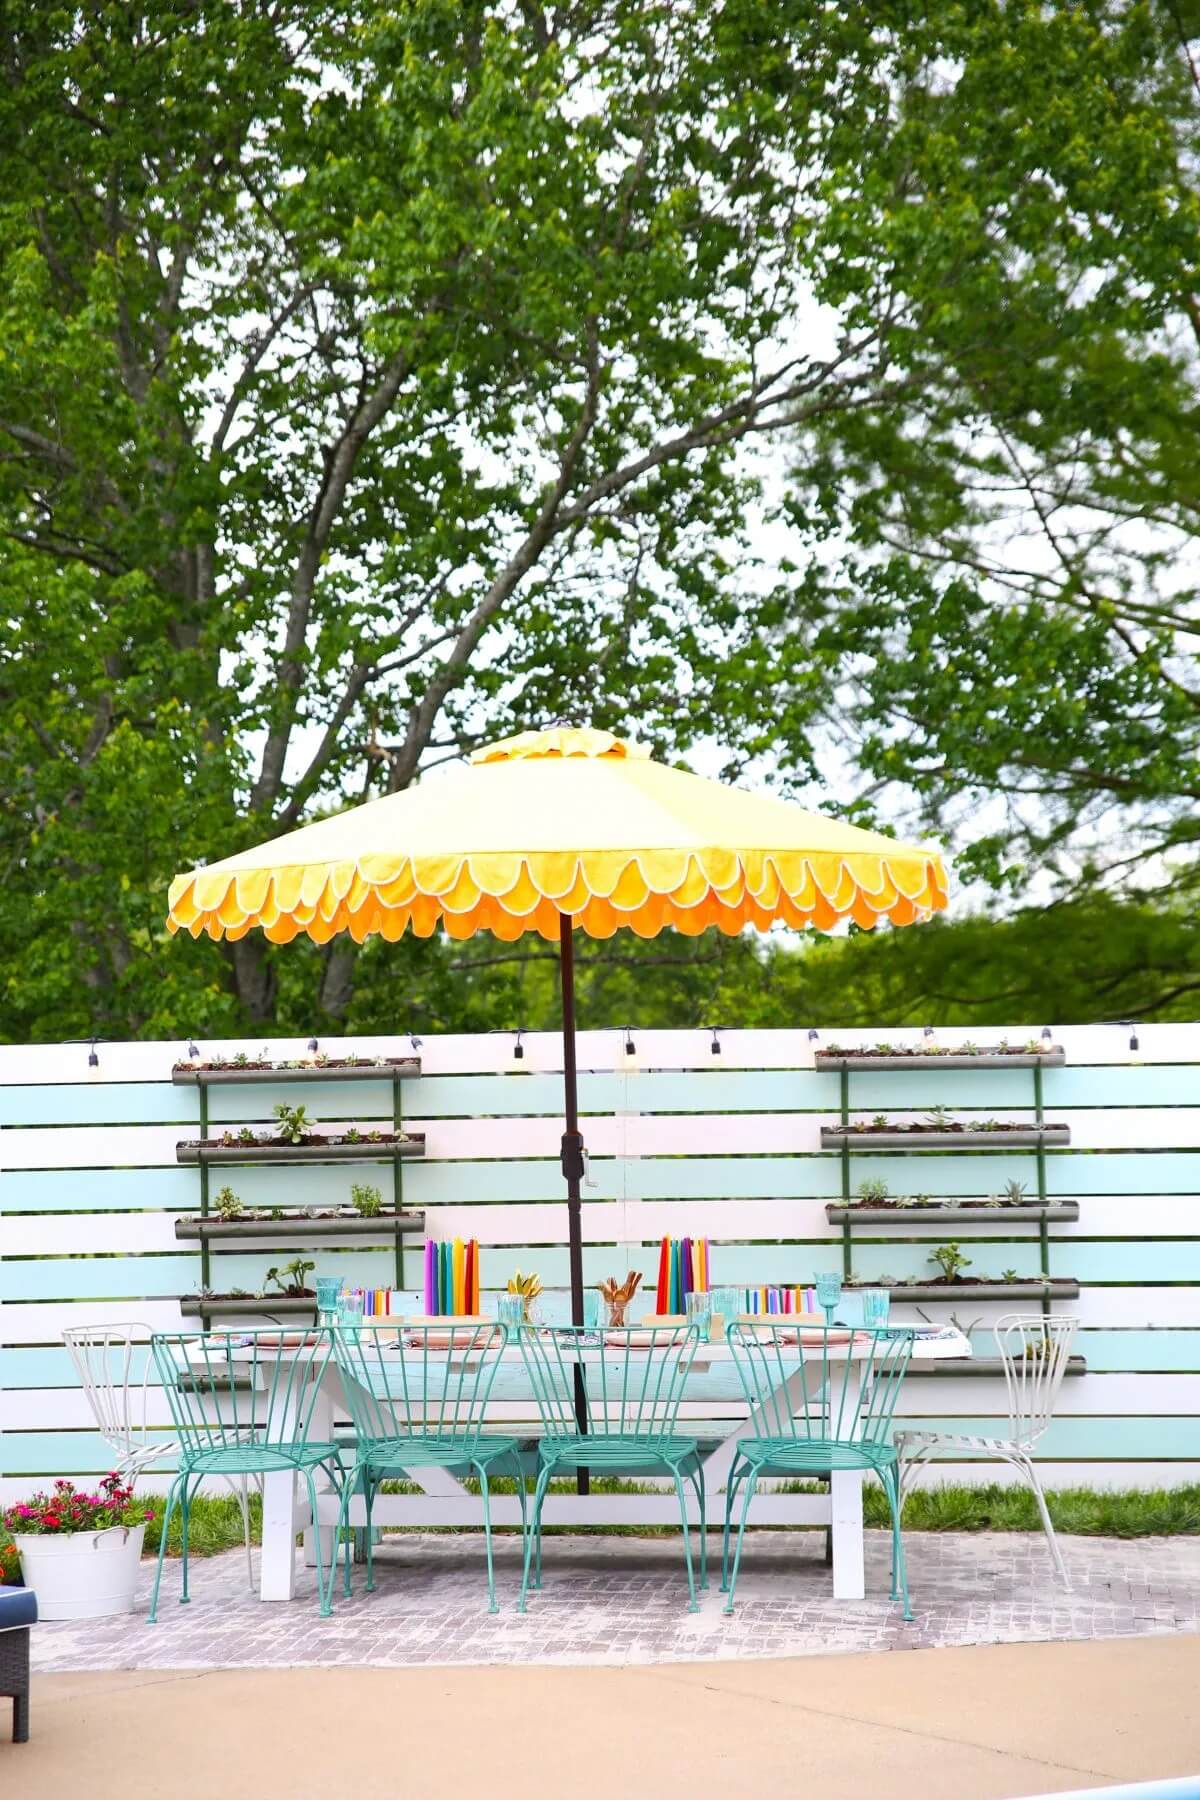
So give yourself a little grace with an ever-evolving space, knowing that it won’t always be picture perfect, and you can continue to work with it. Enjoy where you are in the meantime.
We hope this gives you a great starting point, and that you’re ready to create those beautiful outdoor spaces.
Be sure to check out more of our favorite ideas here!
Have an inspired day!


