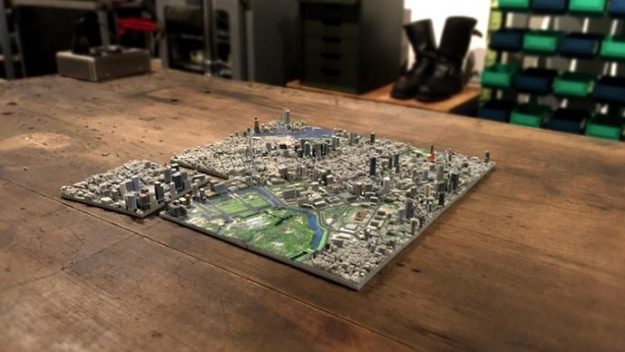
Visiting Tokyo can be expensive, and it’s only going to get more expensive as we get closer to the Olympics taking place there in 2020. However, you don’t need to visit Tokyo in order to experience the city. You can instead have it shipped to you in the form of high quality 3D printed map squares.
That’s the aim of the One Hundred Tokyo Kickstarter, which has already doubled its funding target. It’s a project created by Japanese 3D printing company iJet. They’ve been working in the field of 3D printing since 2009 and the quality of their work is clear to see from the images included here.
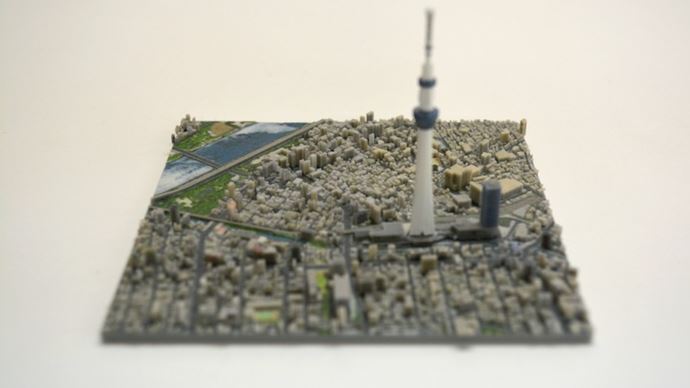
The One Hundred Tokyo project involves a serious amount of work to produce each of the 100 x 100mm map squares. iJet first takes map data provided by Zenrin (also used by Google Maps) and turn that into a highly detailed full-color 3D model. Tweaks are made to allow for 3D printer extrusion before the printing occurs. The base uses gypsum powder and gets hardened using a special resin. Once hard, another layer of resin paint is used to complete the realistic map piece.
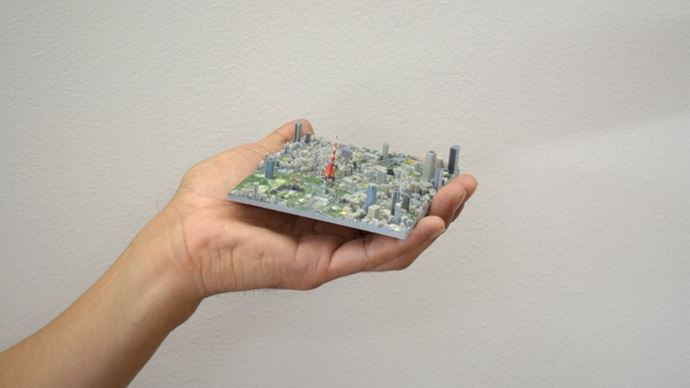
On the base of each map square coordinates are printed to ensure all 100 can be fitted together to create a full map of Tokyo. However, owning the whole map is going to be very expensive. Each map square will cost $125 at retail, but Kickstarter backers can claim one for as little as $95 if they are quick. Two pieces cost $175, four pieces cost $350, and nine pieces cost $790. If you want the complete one hundred square map, that’s $10,000, which will rise to $12,500 at retail.
So far iJet has completed 13 of the squares and is using Kickstarter to raise funding for the remaining 87. With 9 days to go they’ve raised $20,000 while only asking for $10,000, so this is definitely going to happen. As for when your map square(s) will be delivered, the listed date is November 2017.

