Spicy 4-Cheese Crab Pasta
Indulgent yet balanced, this pasta recipe brings together the ocean’s sweetness and the boldness of spice. With a creamy four-cheese base and generous crab, it’s comfort food with gourmet flair.
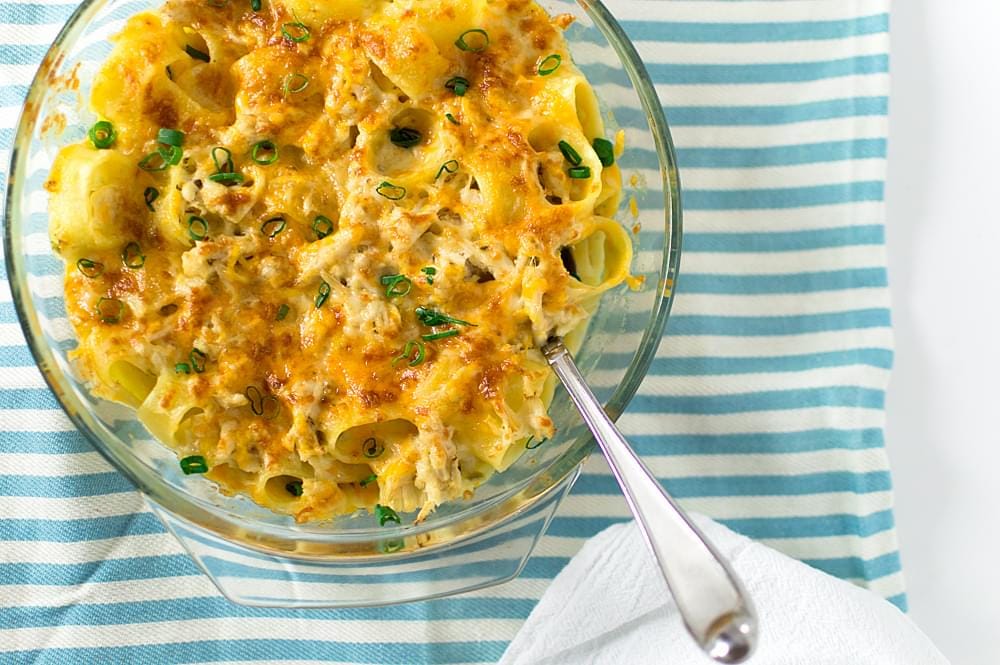
Mac and cheese has always been a favorite — what kid doesn’t love a good bowl of hot cheesy noodles? Pasta and cheese. How can that combo be bad?
Well, it’s not, but I know what can make it better…. CRAB. And more cheese. And spice!
I was such a picky eater growing up, but I knew I could always count on my grandmother’s macaroni and cheese at family get-together ‘pot-luck’ kinda things. She would make it homemade, and there was always a thick layer of baked cheese on top, which is what just made it so heavenly. Seriously, when there were like 15 dishes to choose from, my plate would consist of a roll, maybe a piece of meat, and her macaroni and cheese… then I’d go back for more (once everyone had their turn of course!)
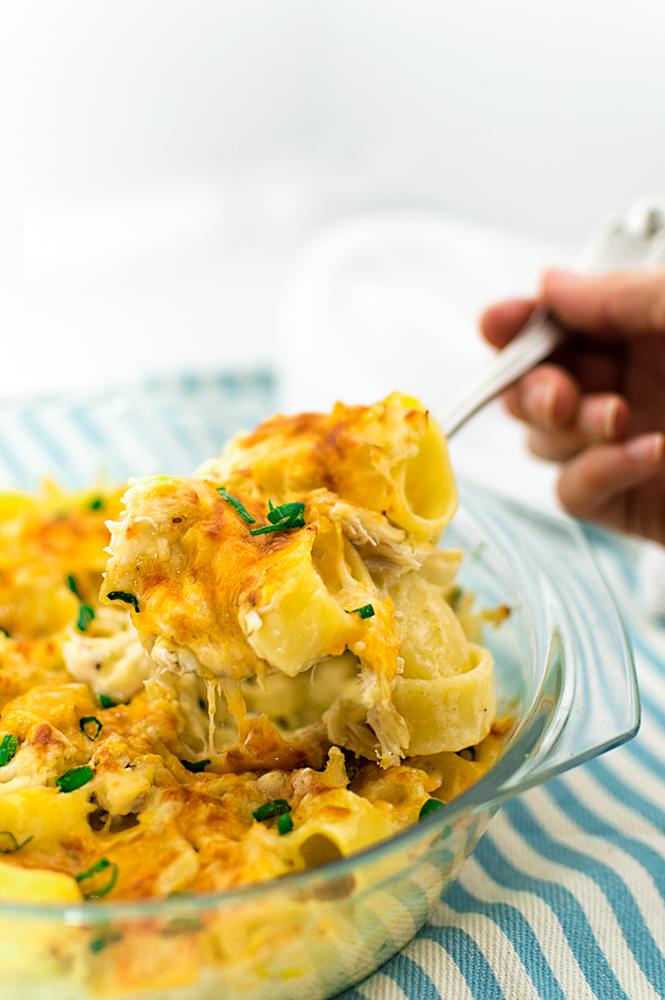
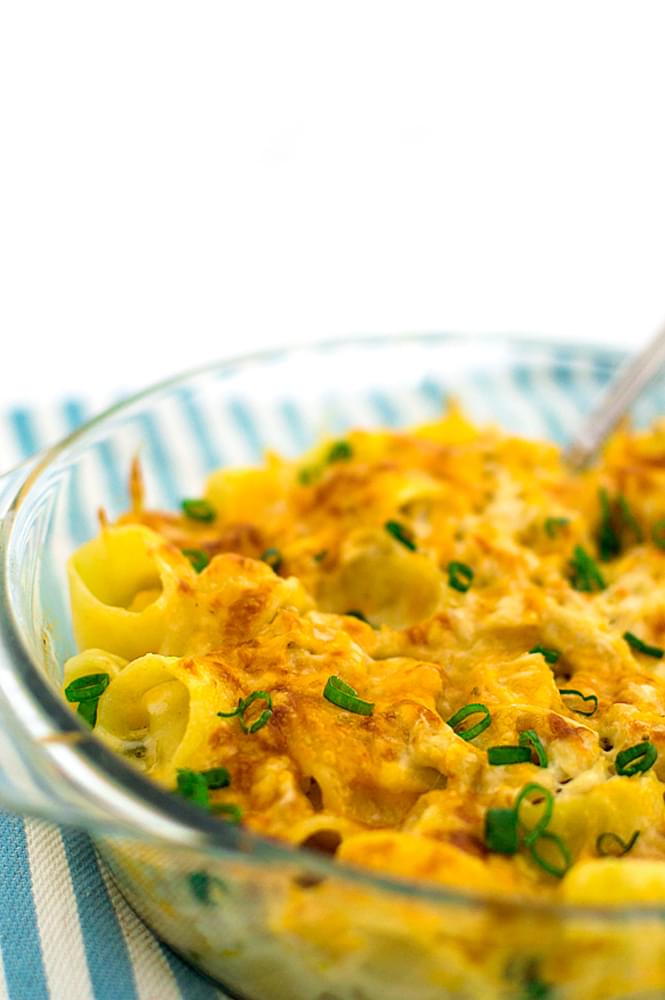
For this spicy 4-cheese crab pasta, I used some awesome dried pasta I’d never cooked with before, it’s called calamarata, but feel free to use whatever pasta you want! I found this at World Market… I always like to pick up ingredients I’ve never used before, so these struck my eye when I was shopping. The calamarata noodles are shaped like large O’s and have slight ridges on the sides. They’re a little thicker than normal so it took about 13-14 minutes to cook, but it turned out great! I tossed it in a cheese sauce that I made from a few of the cheeses I had in my fridge. Feel free to substitute out any cheese if it’s hard to find or you just wanna be different!
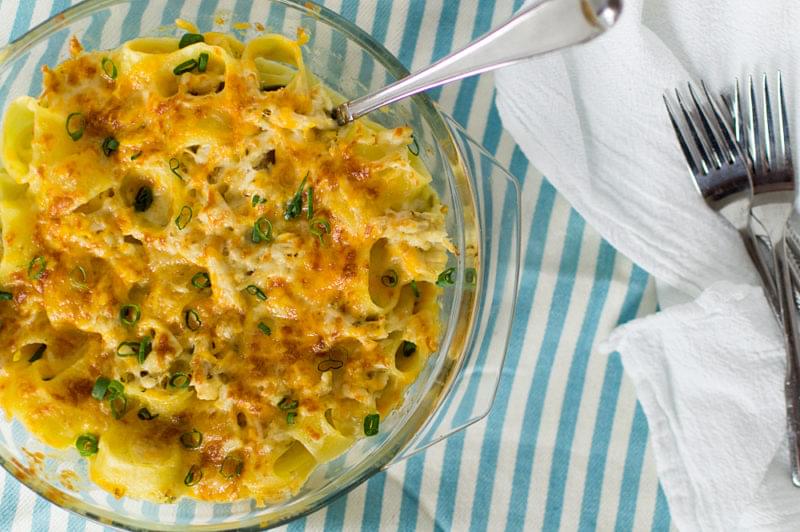
When the pasta was finished cooking and the sauce was complete, I tossed it all together in a baking dish. Make sure to save some of your shredded cheese to pour over the top. That layer of cheese is my favorite part!
I added the crab right on top of the noodle/sauce mix, underneath the top cheese layer, but you can mix it in with the sauce/pasta if you wish. Just be careful not to break the lumps of crabmeat too small. You know you want those big chunks of crab throughout!
